Create a Meeting
After signing in to your account, click on the Calendar icon in the top menu.
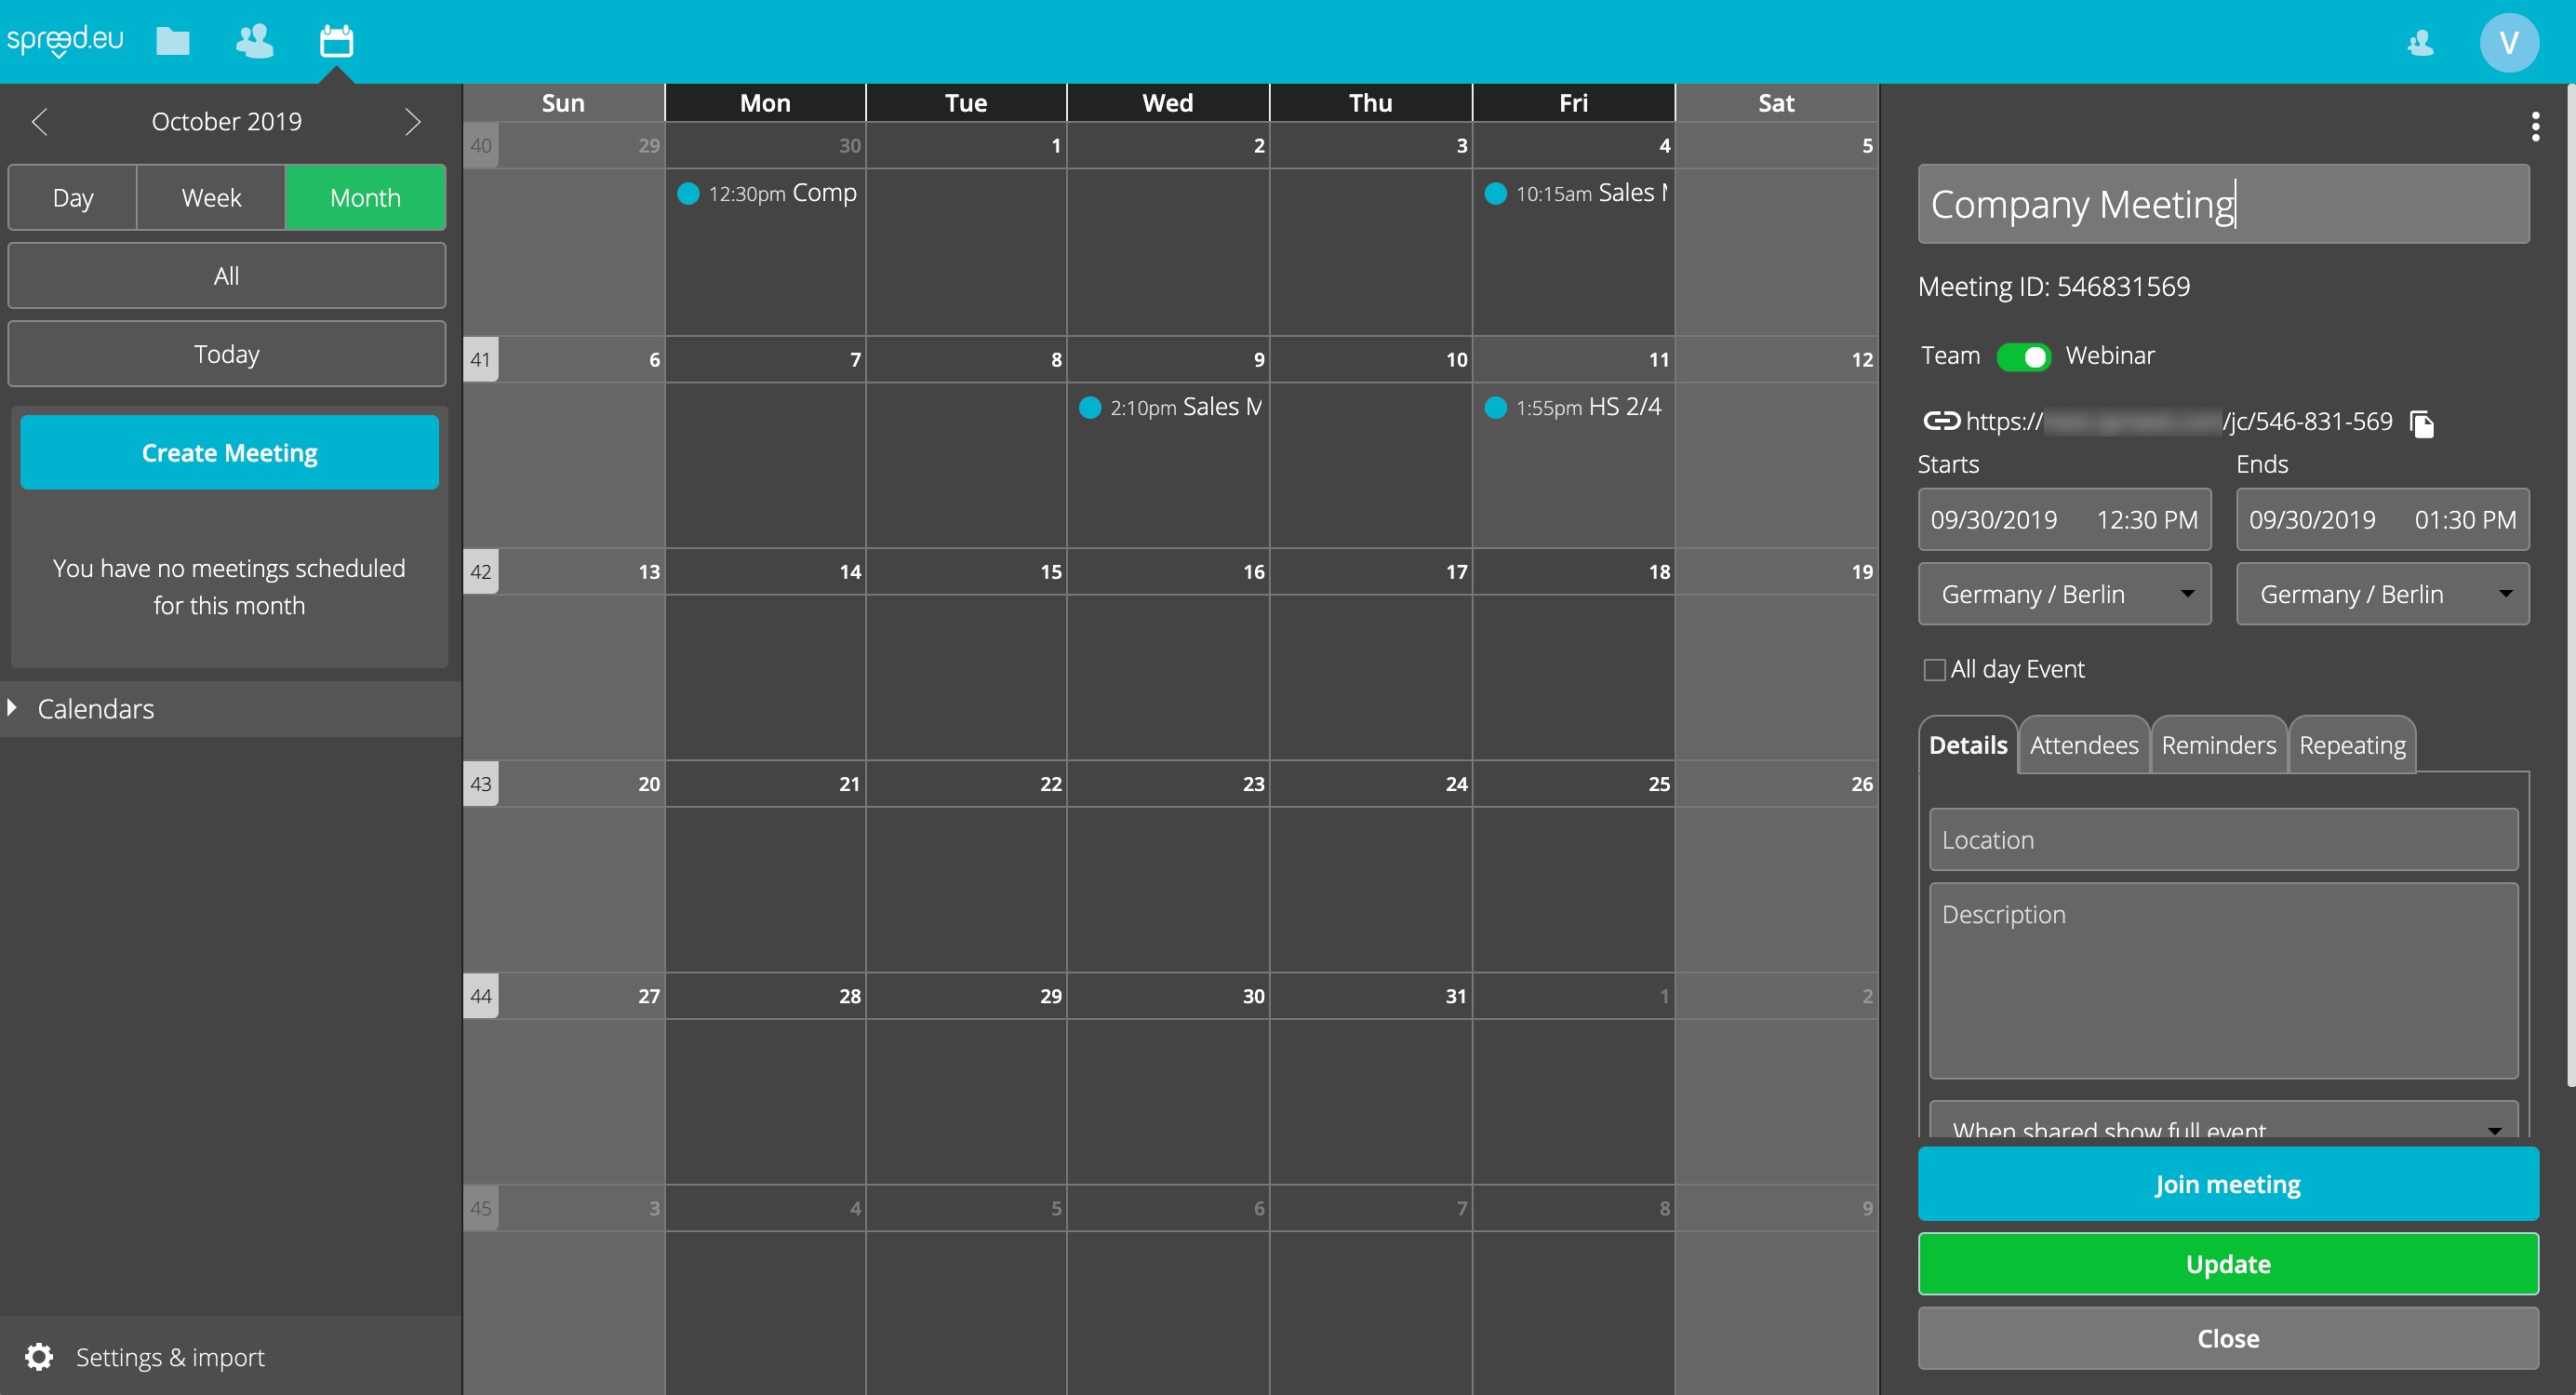
A new window opens on the right side where you can enter all the details of your meeting.

Team or Webinar

Team is the best choice for a smaller group of people who would like to work together collaboratively. Only invited attendees can join the meeting. Attendees will automatically be able to activate their microphone, camera, share their screen and upload files. If you don’t want this, choose “Webinar”.
Webinar is usually better suited for a larger audience. Attendees won’t be able to activate their microphone or webcam unless you promote them to moderators. You will also receive a URL for your meeting room that you can send to participants. They don’t need to be invited to join the meeting.
Note
Overview
Team meeting type:
Small groups
Perfect for collaboration
Everyone can share video, audio and their screen
Only invited attendees can join
Webinar meeting type:
Large groups
Participants can’t share video, audio or their screen
No invitation necessary to join the meeting
Easily create a link for your meeting
You can find an overview of the different rights of attendees and moderators in the chapter Moderation.
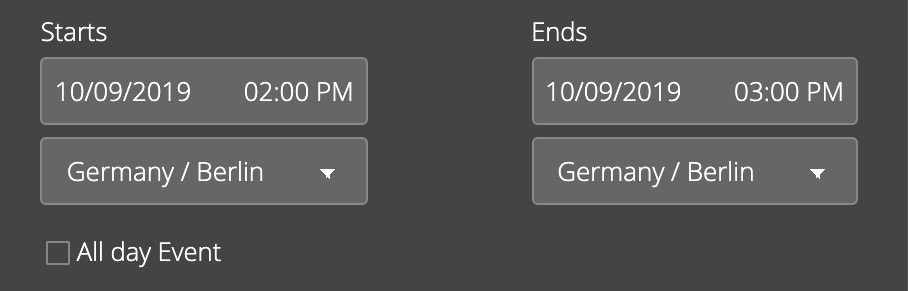
Start and End Date
Your meeting will not start or end automatically. This is only to inform your attendees and functions as a reminder for yourself.
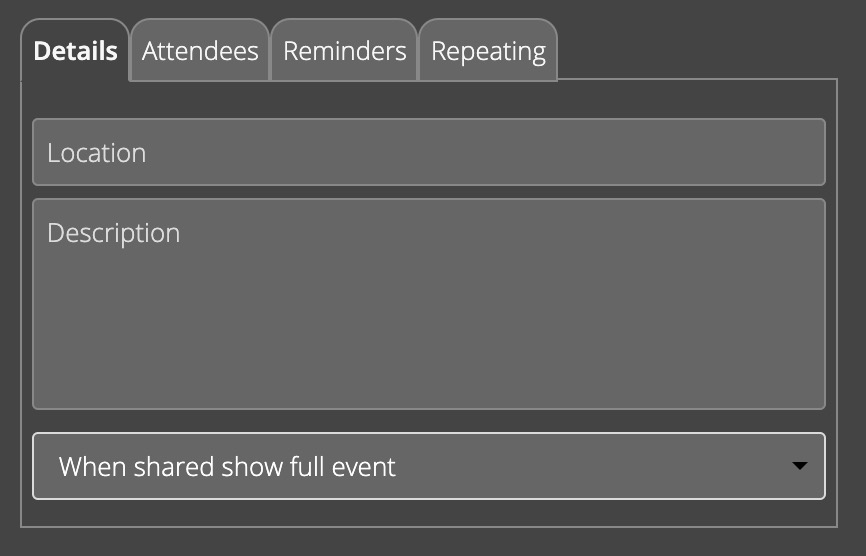
Details
You can add a location if you want. It is not necessary in order to create an online meeting.
Then add a short description or the agenda for your meeting. This will be sent to your participants by email.
If you’re using a shared calendar, you might not want to share every event with others. If you don’t want the details to be shared, choose “When shared hide this event”.
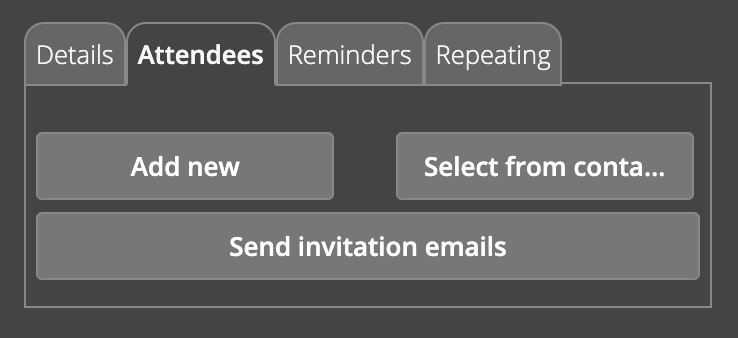
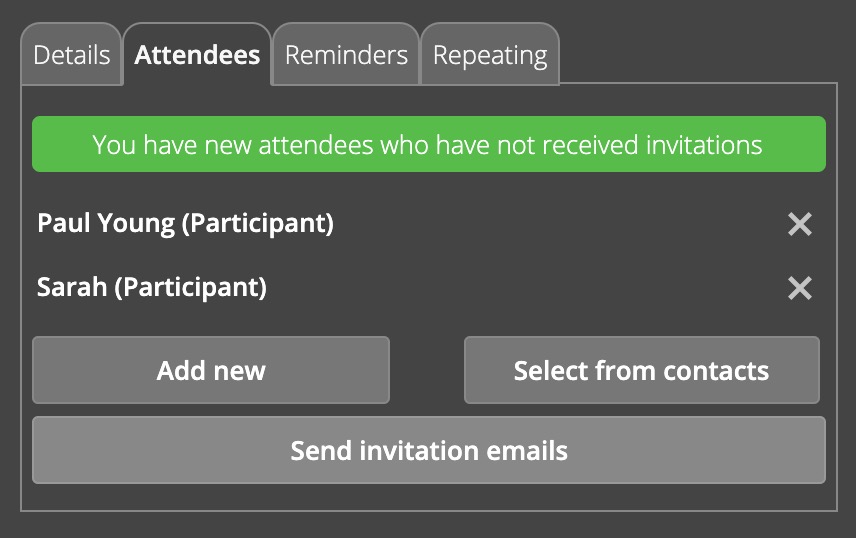
Attendees
Add new or select from your contacts: If you haven’t already added the person to your contact list, you have to click on Add new. If the person is already in your address book, click on Select from contacts. See Address Book for more information.
Enter name, email address and time zone of your attendee so that the time in your invitation will be displayed correctly.

Participant or moderator: If your attendee needs moderator rights, you can assign them here. In webinars, only moderators can activate their audio and video and share their screen or a presentation.
You can find an overview of the different rights of attendees and moderators in the chapter Moderation.
After you’ve added attendees to your meeting, click on Send invitation emails so that everyone gets notified about your meeting.
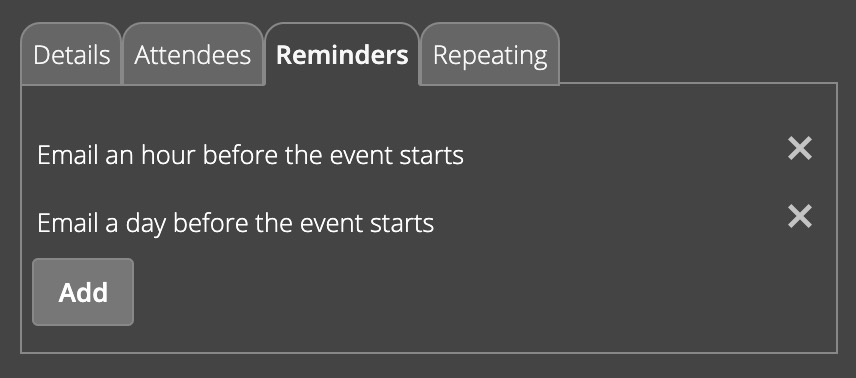
Reminders
Spreed will send reminders to your attendees. You can define how often they will be sent, or remove them completely, shouldn’t you need this option.
By default, Spreed will remind you and your participants 24 hours and 1 hour before the event starts.
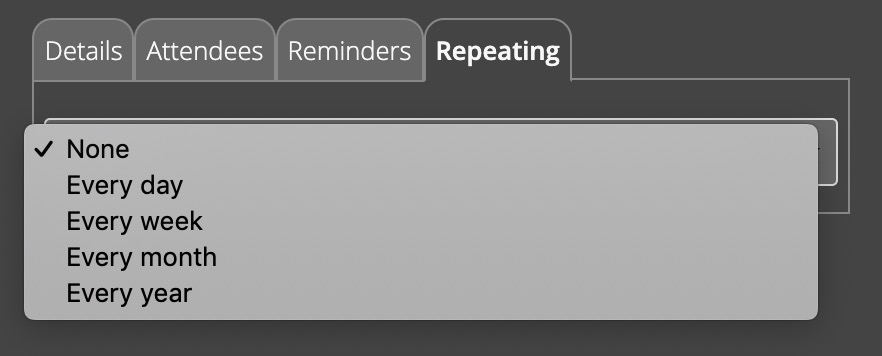
Recurring Meetings
If this is a recurring meeting, you can choose how often it will be repeated:
every day
every week
every month
or every year.
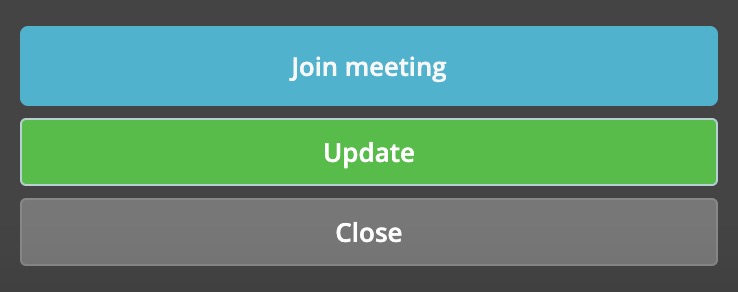
Join Meeting
After you’ve entered all the necessary information and invited your attendees, you can join the meeting and get started. Click on the button Join meeting at the bottom of the page or use the link from the meeting invitation that has been sent to you by email.