Features
Spreed offers a broad range of features to make your online meeting experience more amazing than ever.
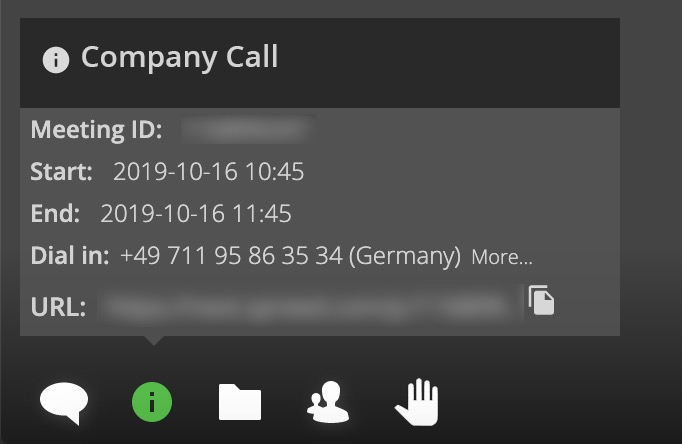
Quick Meeting Overview
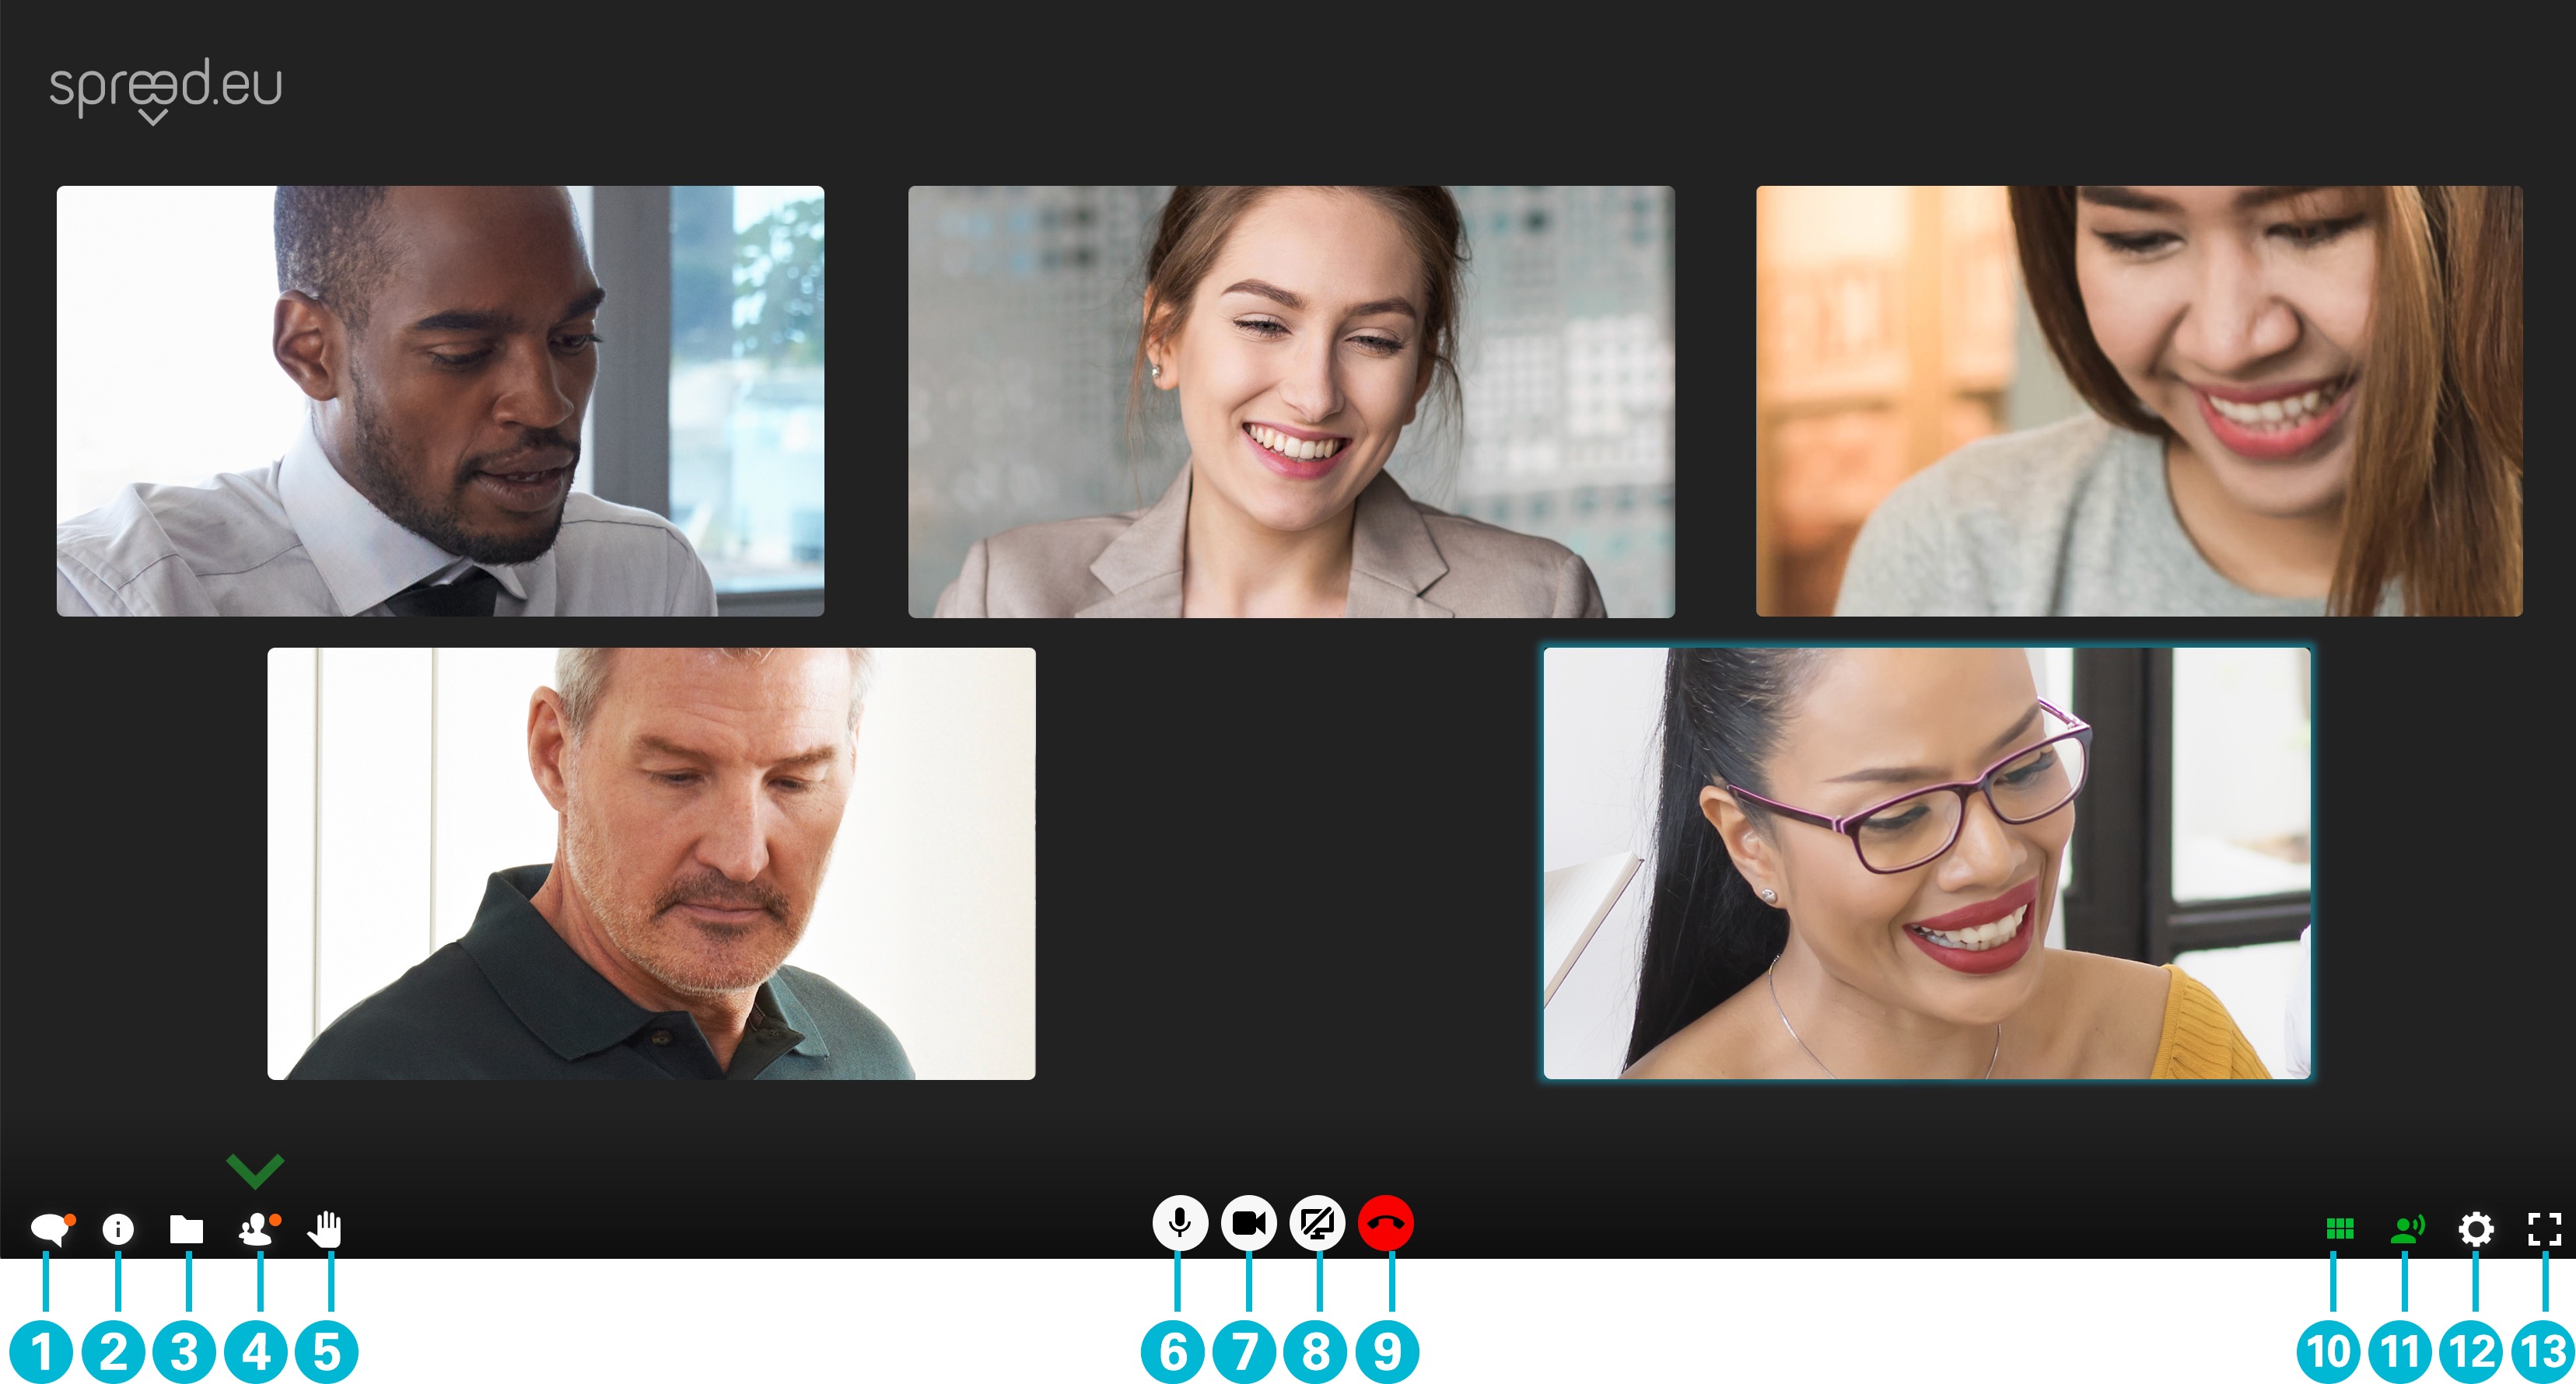
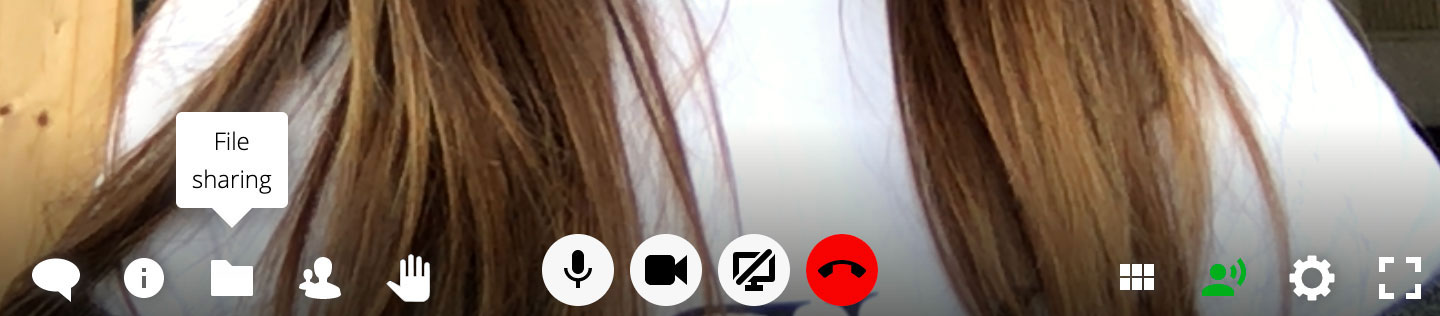
Figure: Spreed meeting overview.
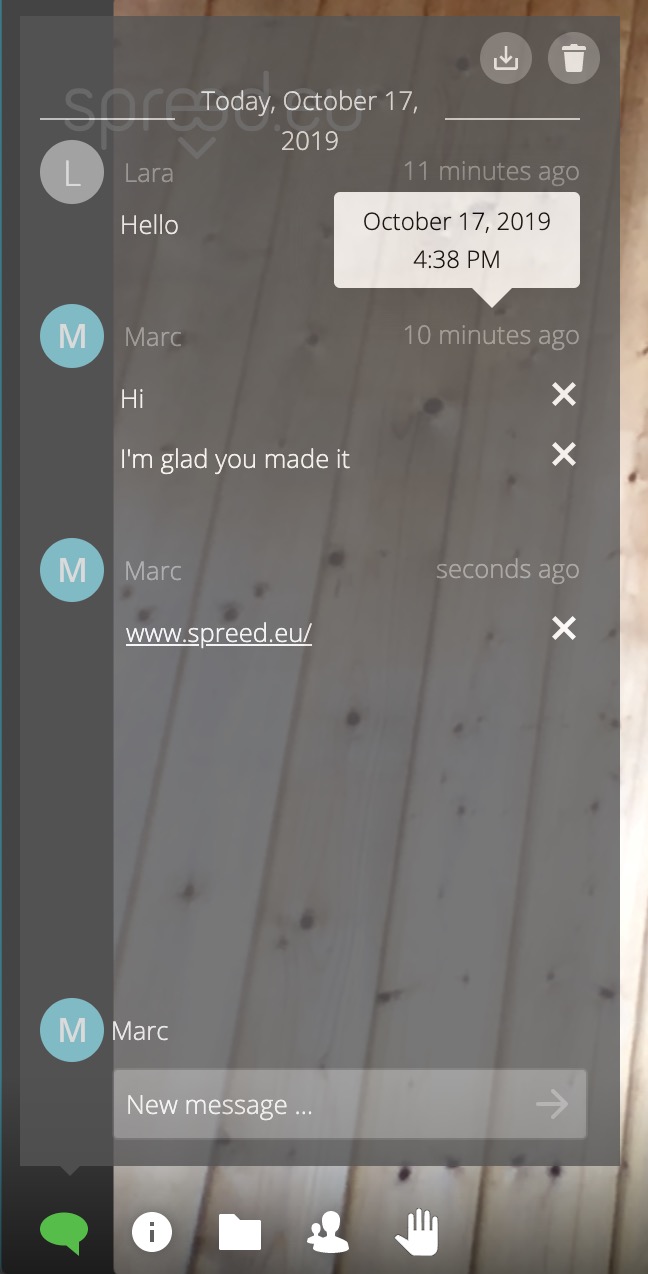
Chat
Meeting information (title, meeting ID, phone dial-in number, start/end date & time)
File sharing (upload/download files and open them as presentation)
Moderation (start/end meeting, create security PIN to lock room, number of participants in lobby, promote/demote moderators, remove participants)
Raise hand to notify moderators that you have a question
Activate/deactivate microphone
Activate/deactivate camera
Start/stop screen sharing
Leave call
Tile view (change between different video conference views)
Turn on/off intelligent switching (active speaker is displayed in the foreground)
Settings (camera, microphone)
Toggle fullscreen mode
Audio & Video
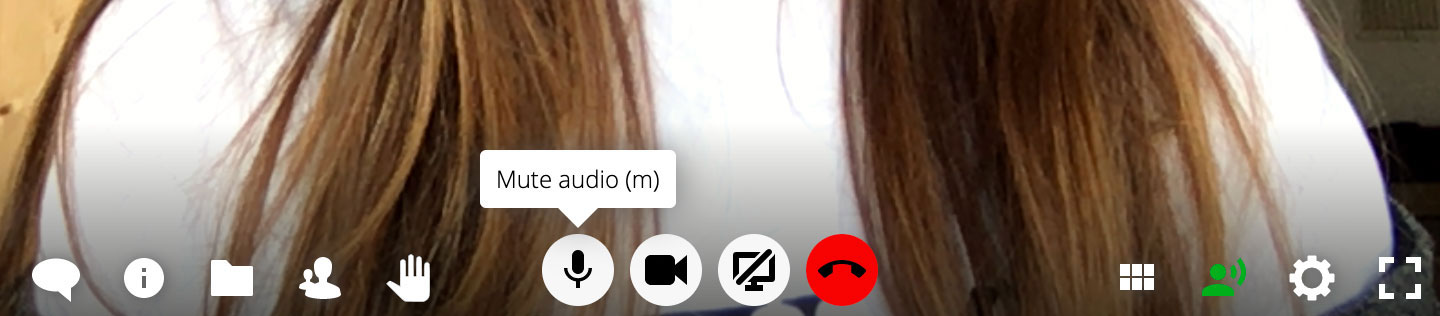
Spreed offers HD video with a resolution of up to 1080p and VoIP audio with fantastic sound quality. Click on the webcam and microphone button to activate or deactivate your video and audio.
You can also use the shortcuts:
Mis for MicrophoneVis for Video
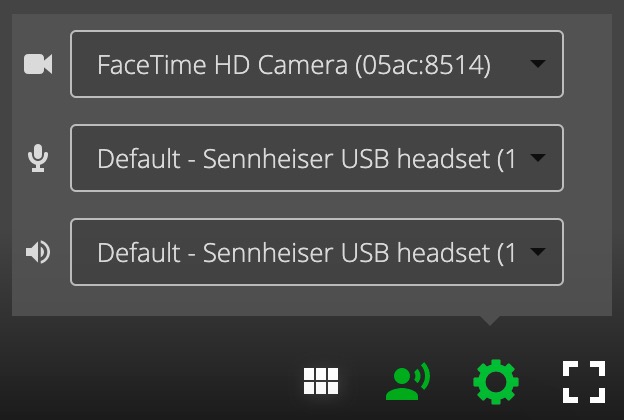
You can choose a different audio or video device in Settings . If you can’t find the right device there, check your system settings to see if it has been installed correctly.
Dial-in
We provide local dial-in numbers so you can use your phone to join a Spreed meeting. The dial-in number will be sent to you and your attendees with your meeting invitation. The information can also be accessed in the meeting room by clicking on the Information icon .
To join a meeting by telephone, call the number, then enter your meeting number and PIN followed by #.
Chat
Secure text chat is available for every meeting. Click on the Chat icon on the left side to open it. You’ll get notified about new messages if you close the chat.
Files
When you create a new meeting, it will automatically add new folder with your meeting number to your cloud. Spreed offers up to 30GB shared cloud storage (depending on your meeting plan). All files uploaded for this meeting are stored in this folder.
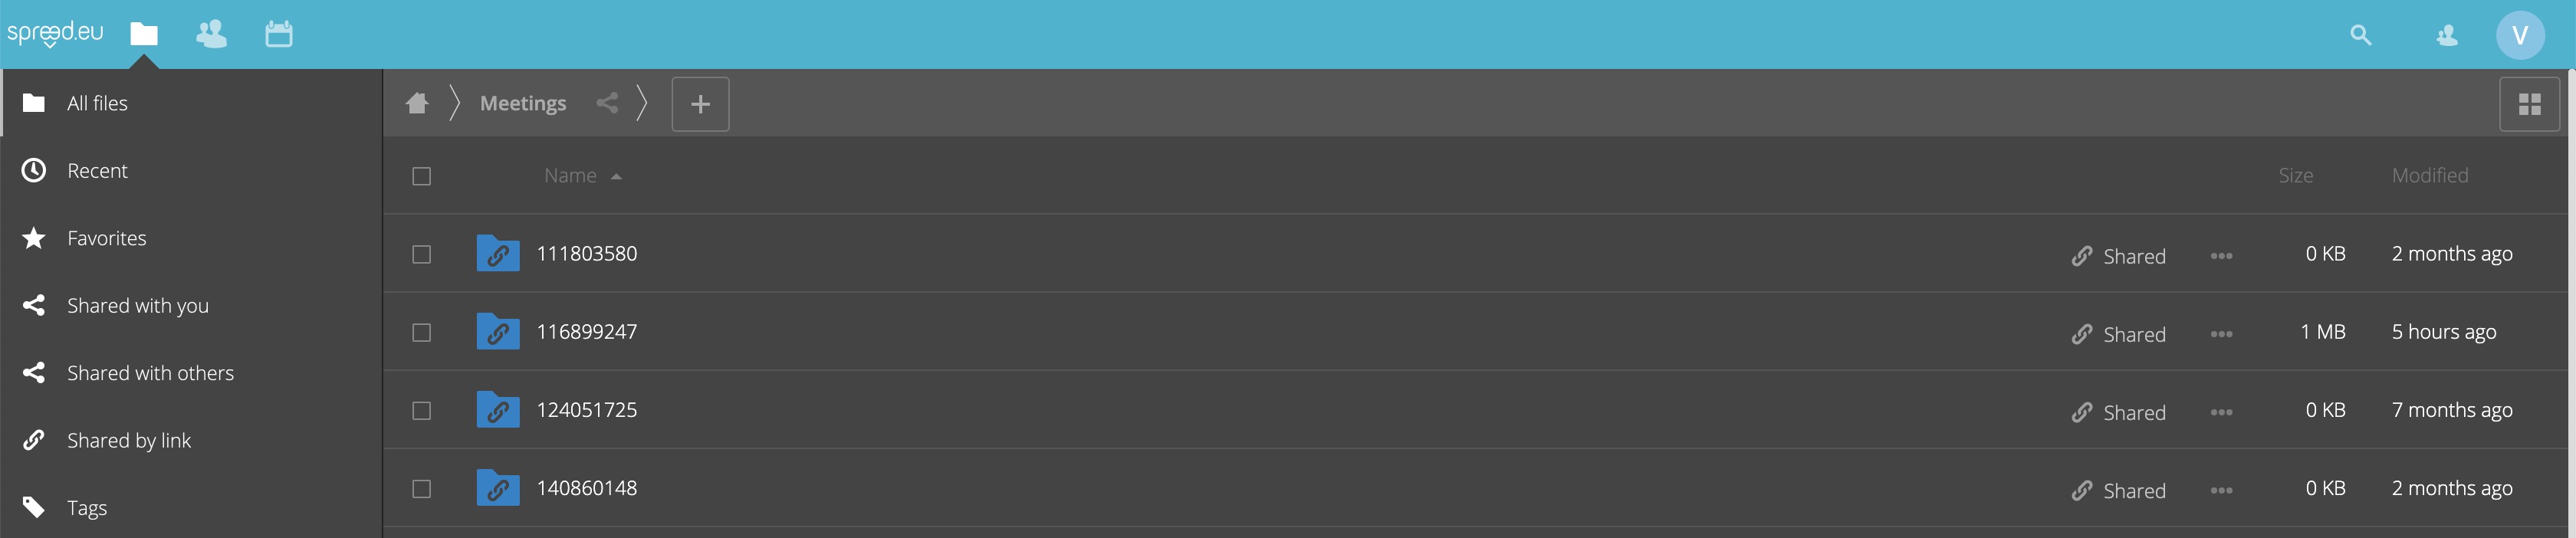
You can manage your files there or use the File sharing panel in your meeting.
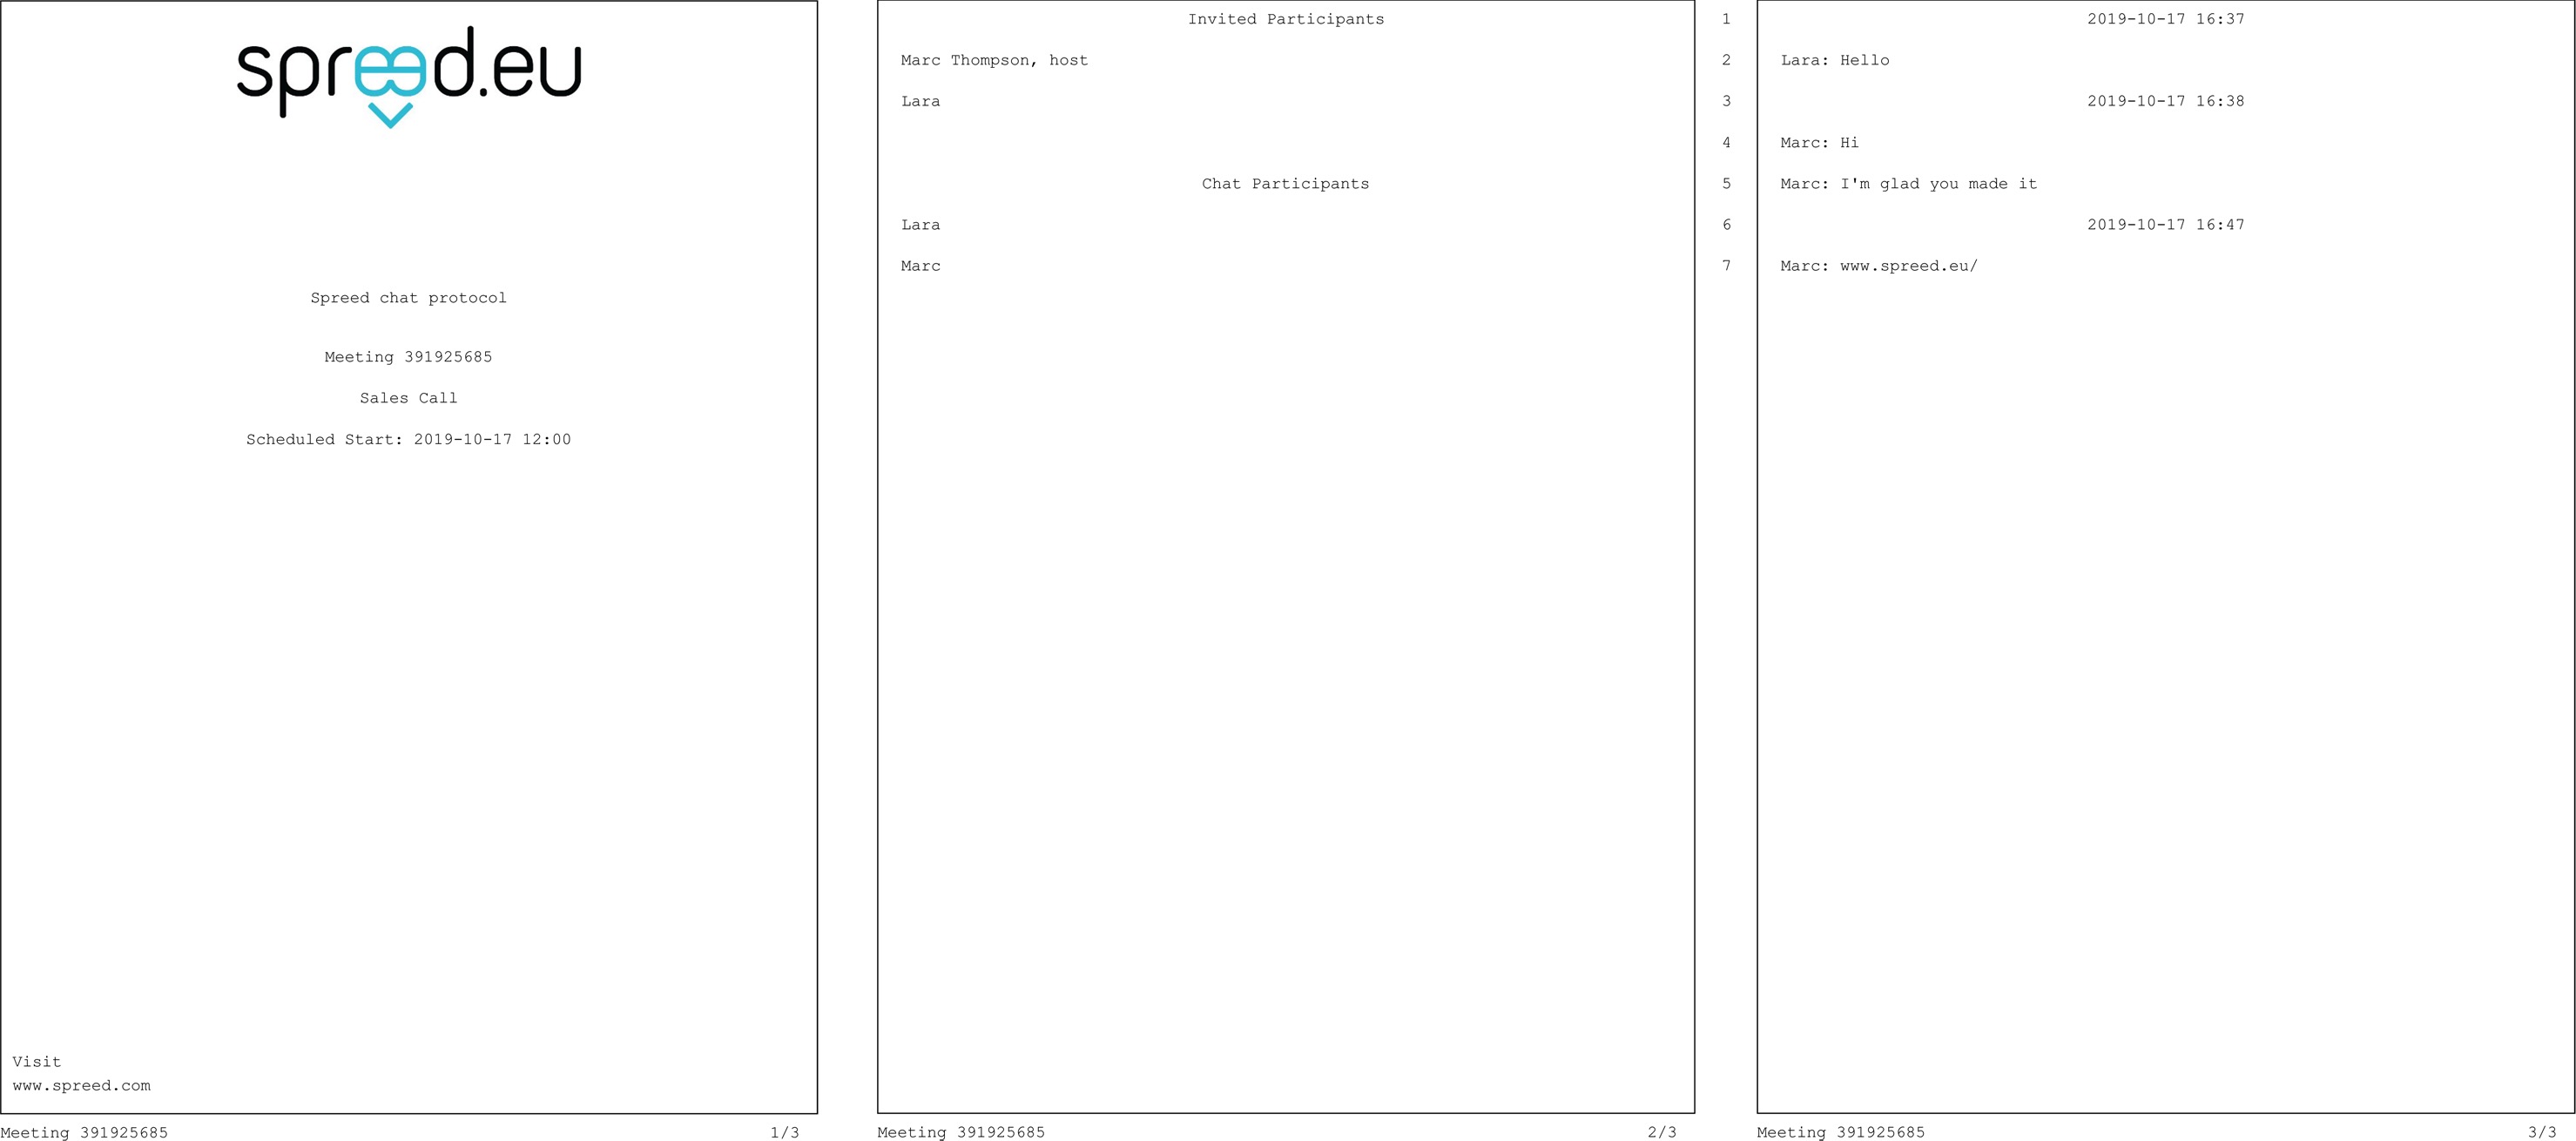
Archive
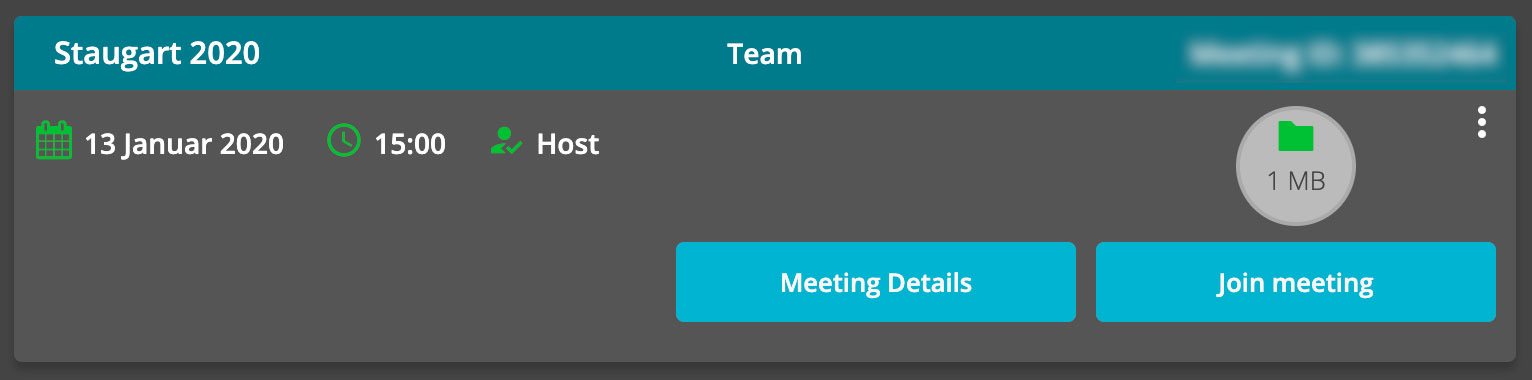
If you would like to access the files of your meetings afterwards, simply go to the overview of your past meetings in your calendar, then click on the folder icon of the according meeting.
All the files you upload are encrypted and stored securely. Even after the meeting has ended, all of the files will be available until you delete them. You can also create a link which you can send to others. If you need more protection, you can even add a password and set an expiration date for the share.
For more information about Nextcloud Files, check out the Nextcloud documentation.
Presentations
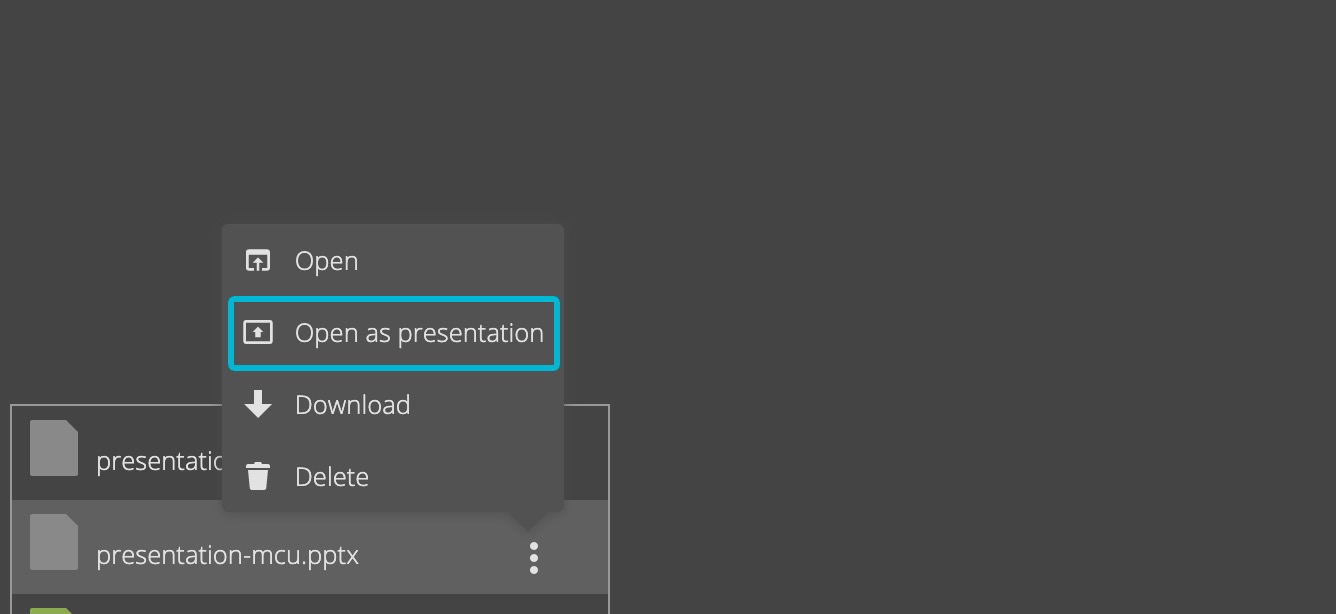
If you want to open a file as a presentation, click on the 3 dots right next to the file and choose Open as presentation. The file will be opened in a new window. If you close the presentation, it will automatically be closed for all your attendees as well.
Note
The following file types are supported:
Presentation files (
.pdf,.ppt,.pptx,.odp)Image files (
.png,.gif,.jpg)Text files (
.doc,.docx,.odt,.txt,.html)Calc files (
.xlsx,.xls,.ods,.csv)Video files (
.mp4).
Collaboration
You can work together on many different documents (.docx, .doc, .odt), spreadsheets (.xlsx, .xls, .ods) and presentations (.pptx, .ppt, .odp).
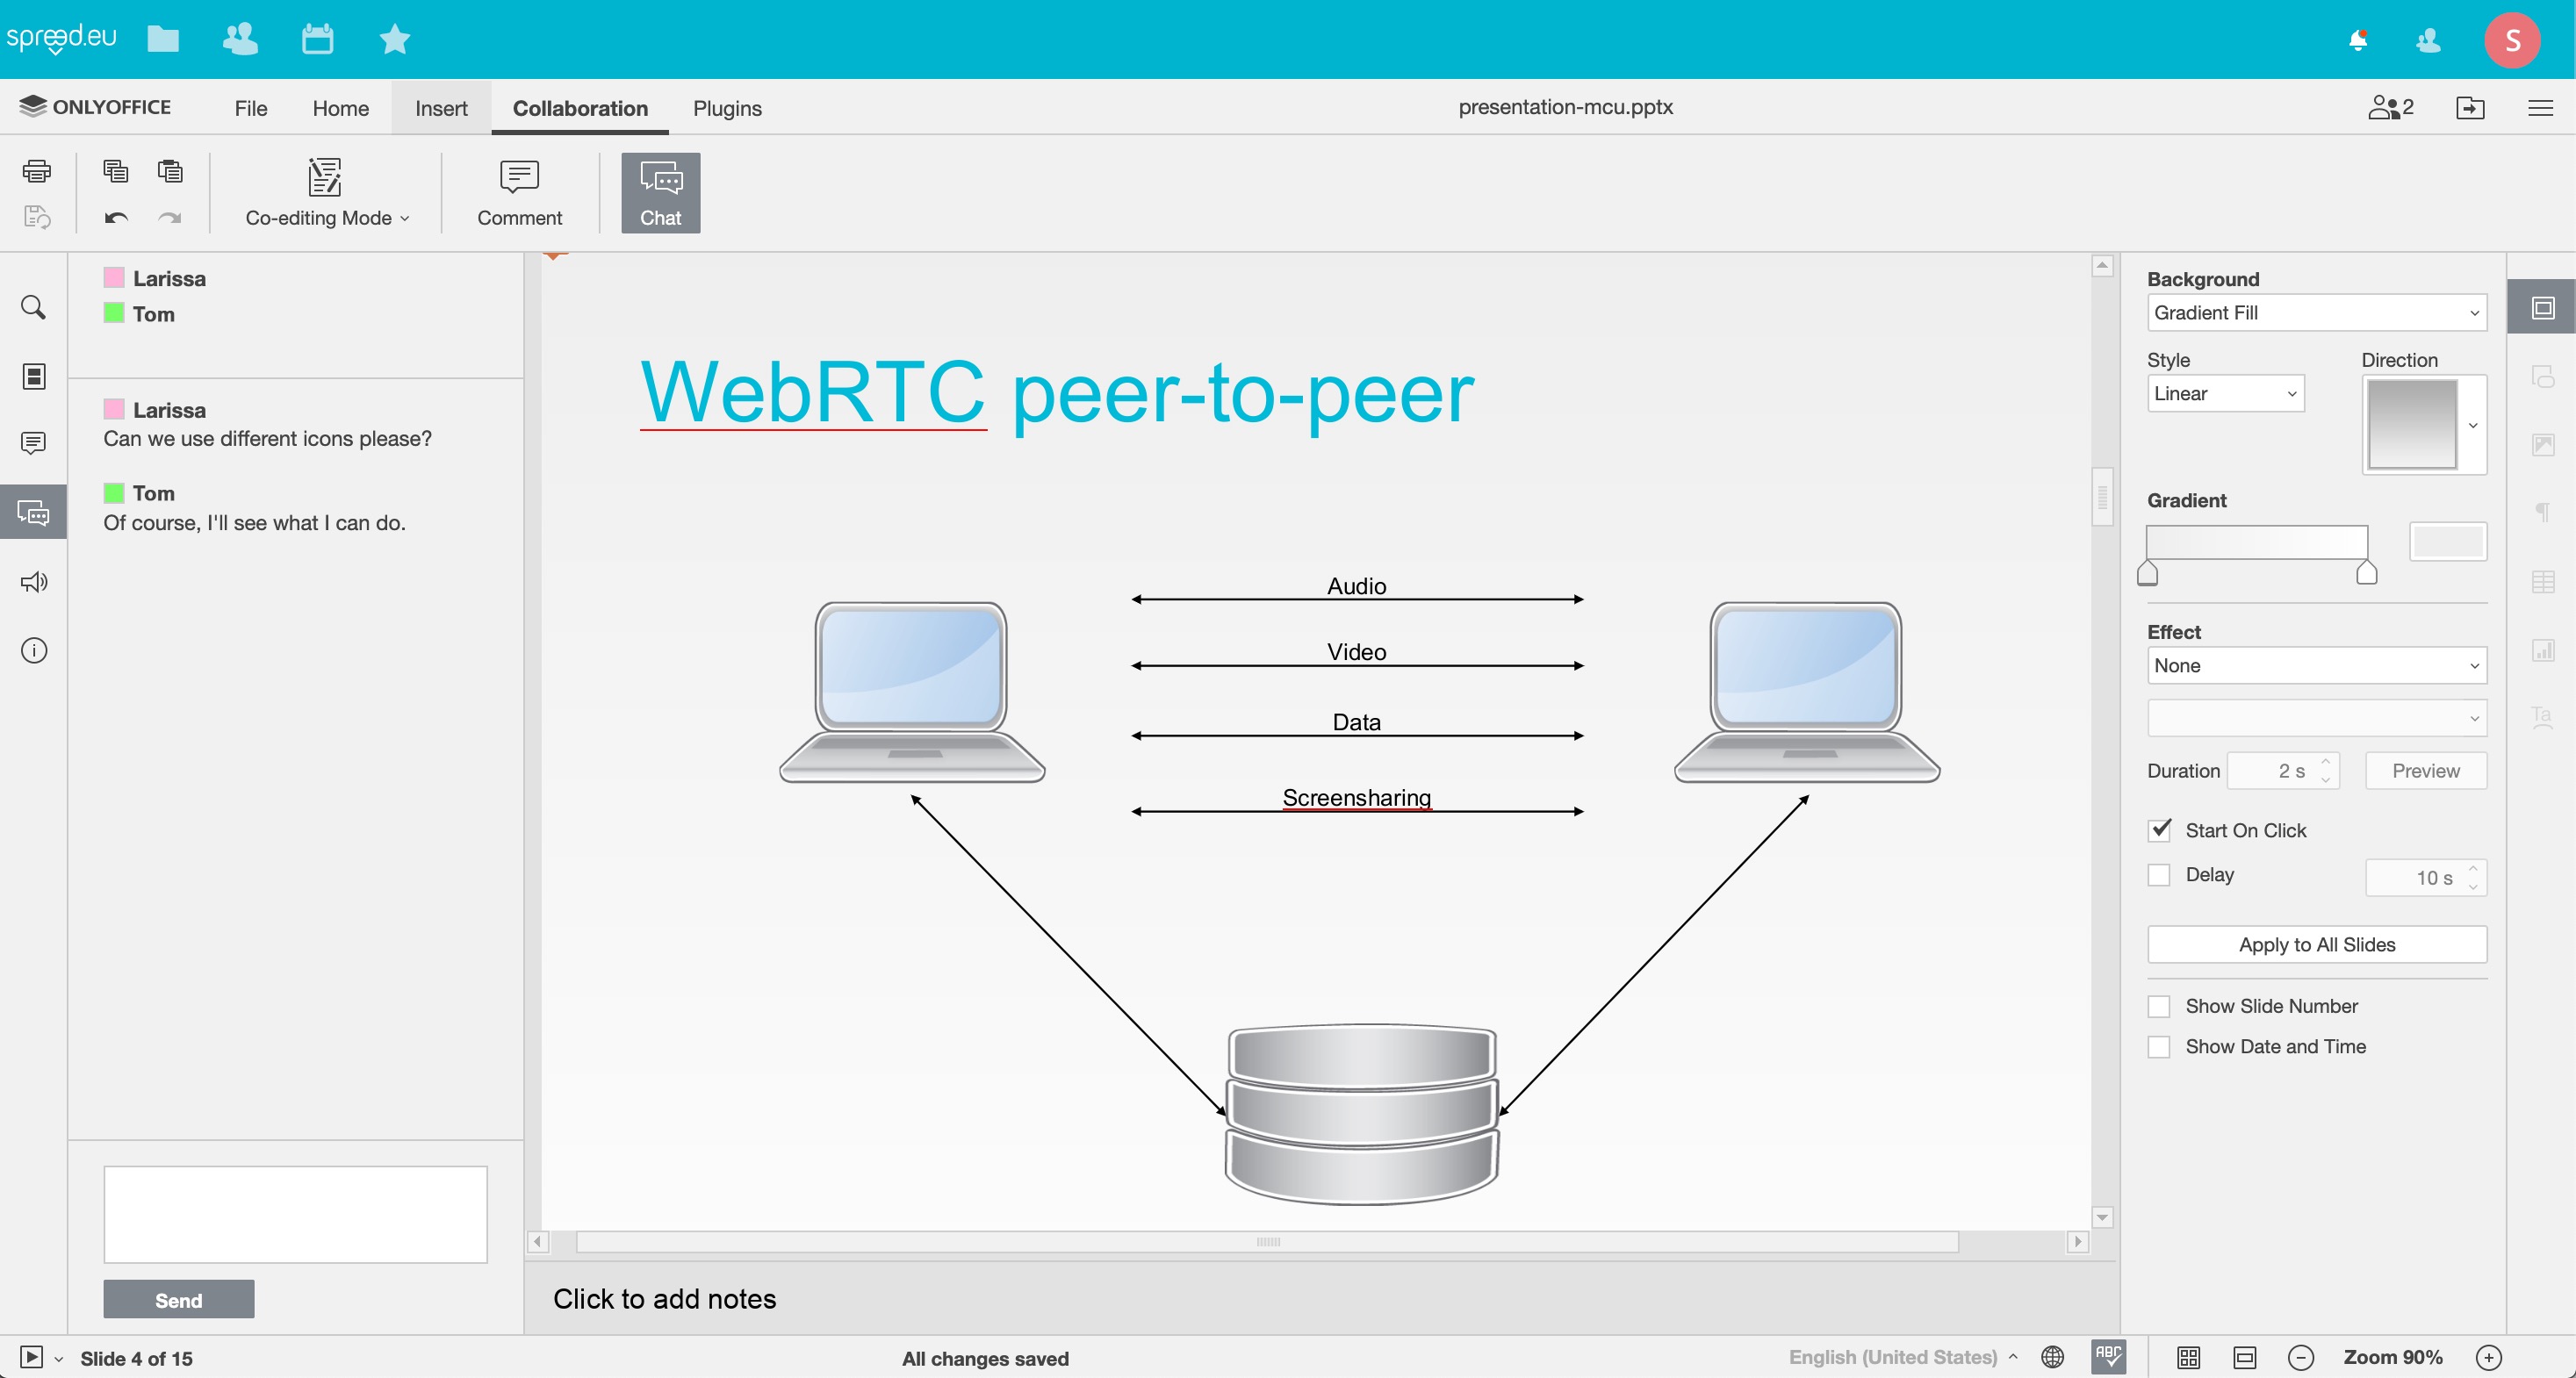
Simply click on Open as presentation. Your file will be opened in a new tab. You can edit files exactly as you know it from Microsoft Office or LibreOffice, with one exception: With Spreed, you can work together with your team in real-time.
Chat
If you click on the Chat icon on the left side, you can see who is co-editing this document. You can chat together while making changes, simply work together as if you were in the same room.
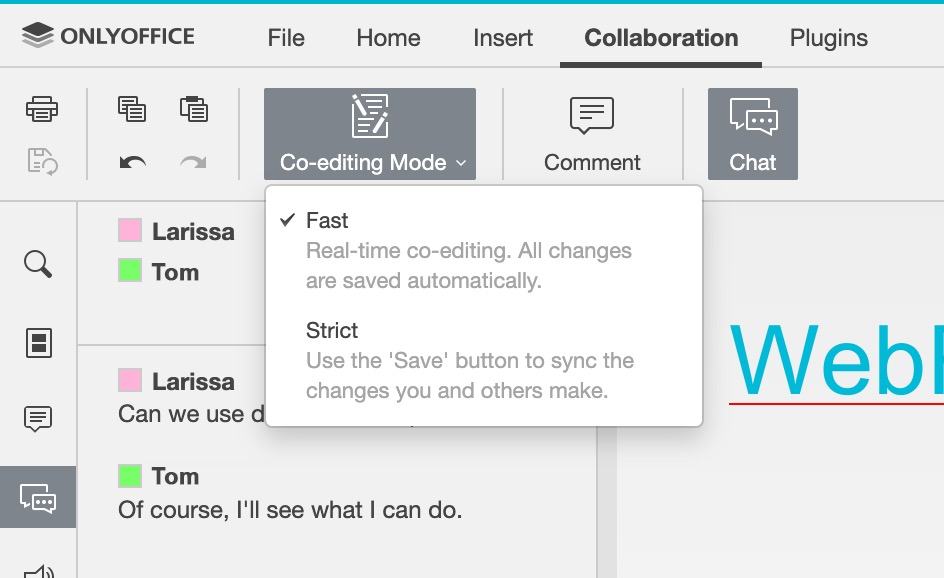
Co-editing Mode
To view the different collaboration options, click on Collaboration in the menu. There are two different co-editing modes:
Fast: All changes are made in real-time and saved automatically. This is the default option.
Strict: You have to click on the “Save” button for the changes to take effect.
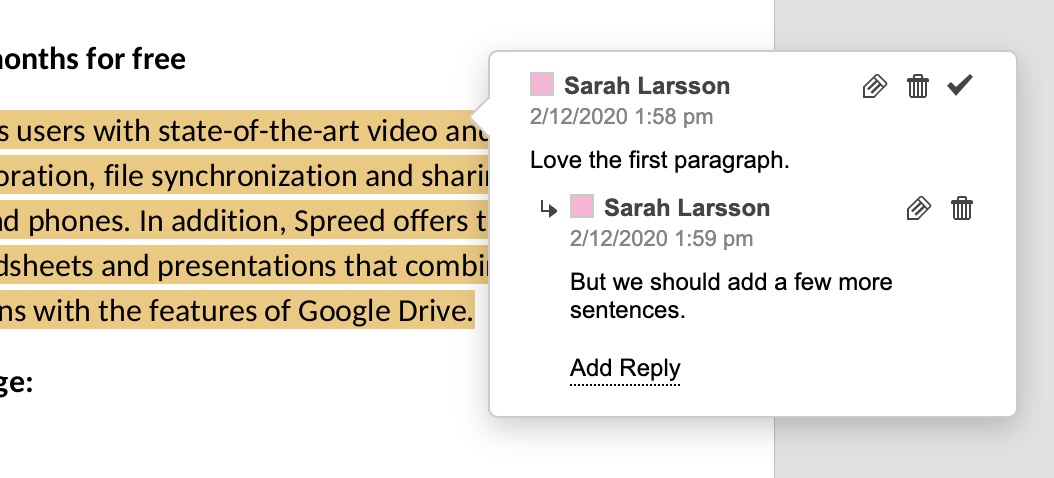
Comments
You can also add comments and highlight certain sentences or paragraphs. It is even possible to reply to comments which makes it such a handy feature.
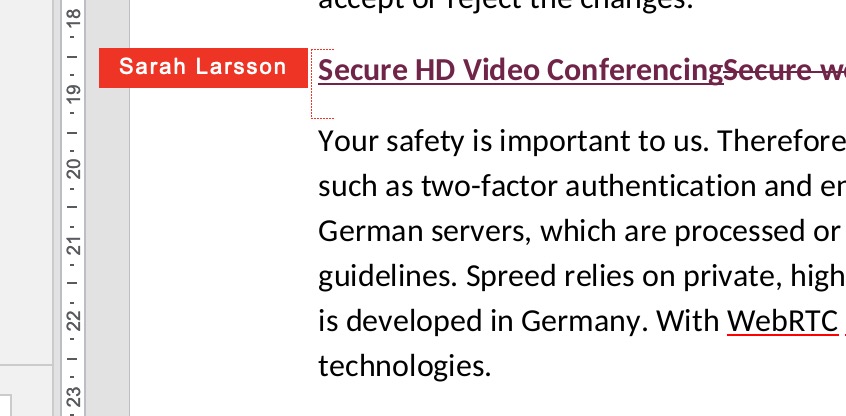
Track Changes
Make sure to activate Track Changes, which will highlight the parts that have been edited by others in different colours.
Note
Track Changes is only available for document files (.docx, .doc, .odt).
Convert files with ONLYOFFICE
If you can’t make any changes to the document you have opened, try to convert it with OnlyOffice.
Go to your meeting overview and open the files folder of your meeting.
Click on the 3 dots next to the file and choose Convert with ONLYOFFICE.
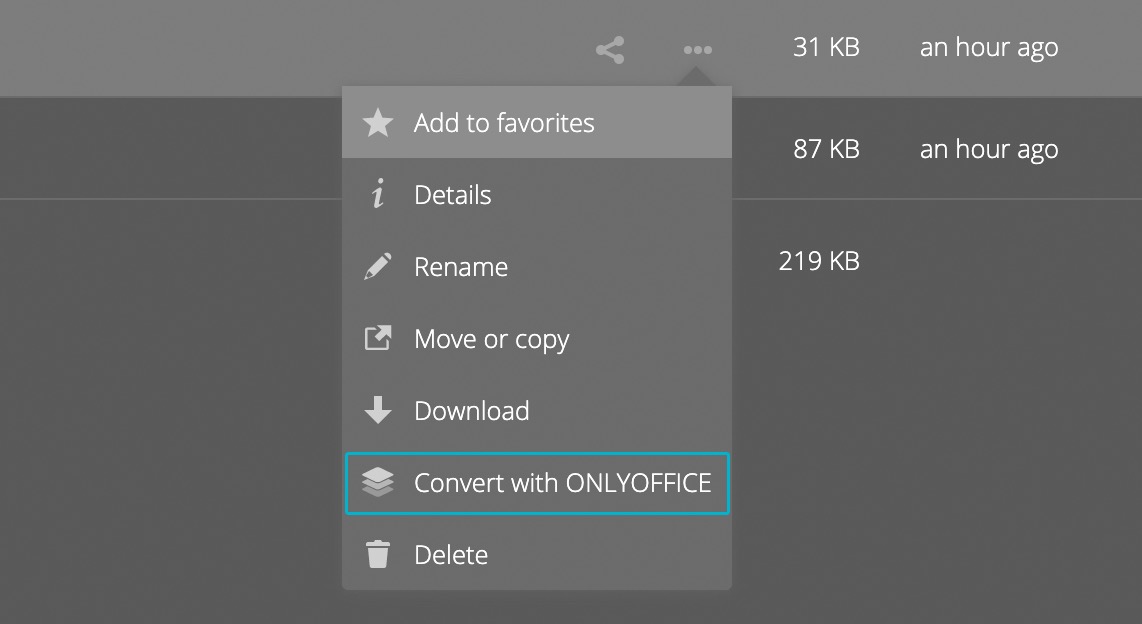
A new compatible file will be generated.
Whiteboard
You can annotate PDF files with our whiteboard tools. Right now, the following tools are available:
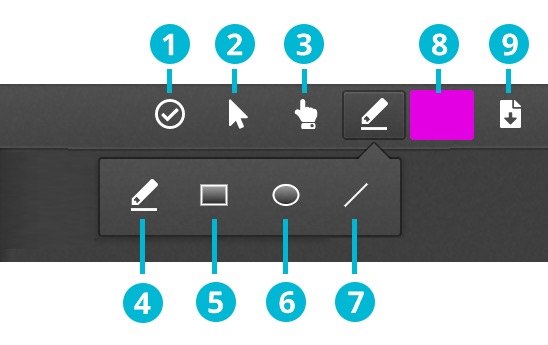
Figure: Overview of whiteboard tools.
View which practically means “no tool”
Select to move or remove objects
Pointer adds a little dot with your name so that everyone can follow your mouse cursor
Freehand for drawings
Rectangle
Ellipse
Line
Colour wheel
Export PDF will export a new PDF with your annotations
To remove objects, use the Select tool , click on elements you want to delete and press the DEL/ENTF key on your keyboard.
More tools will be available soon.
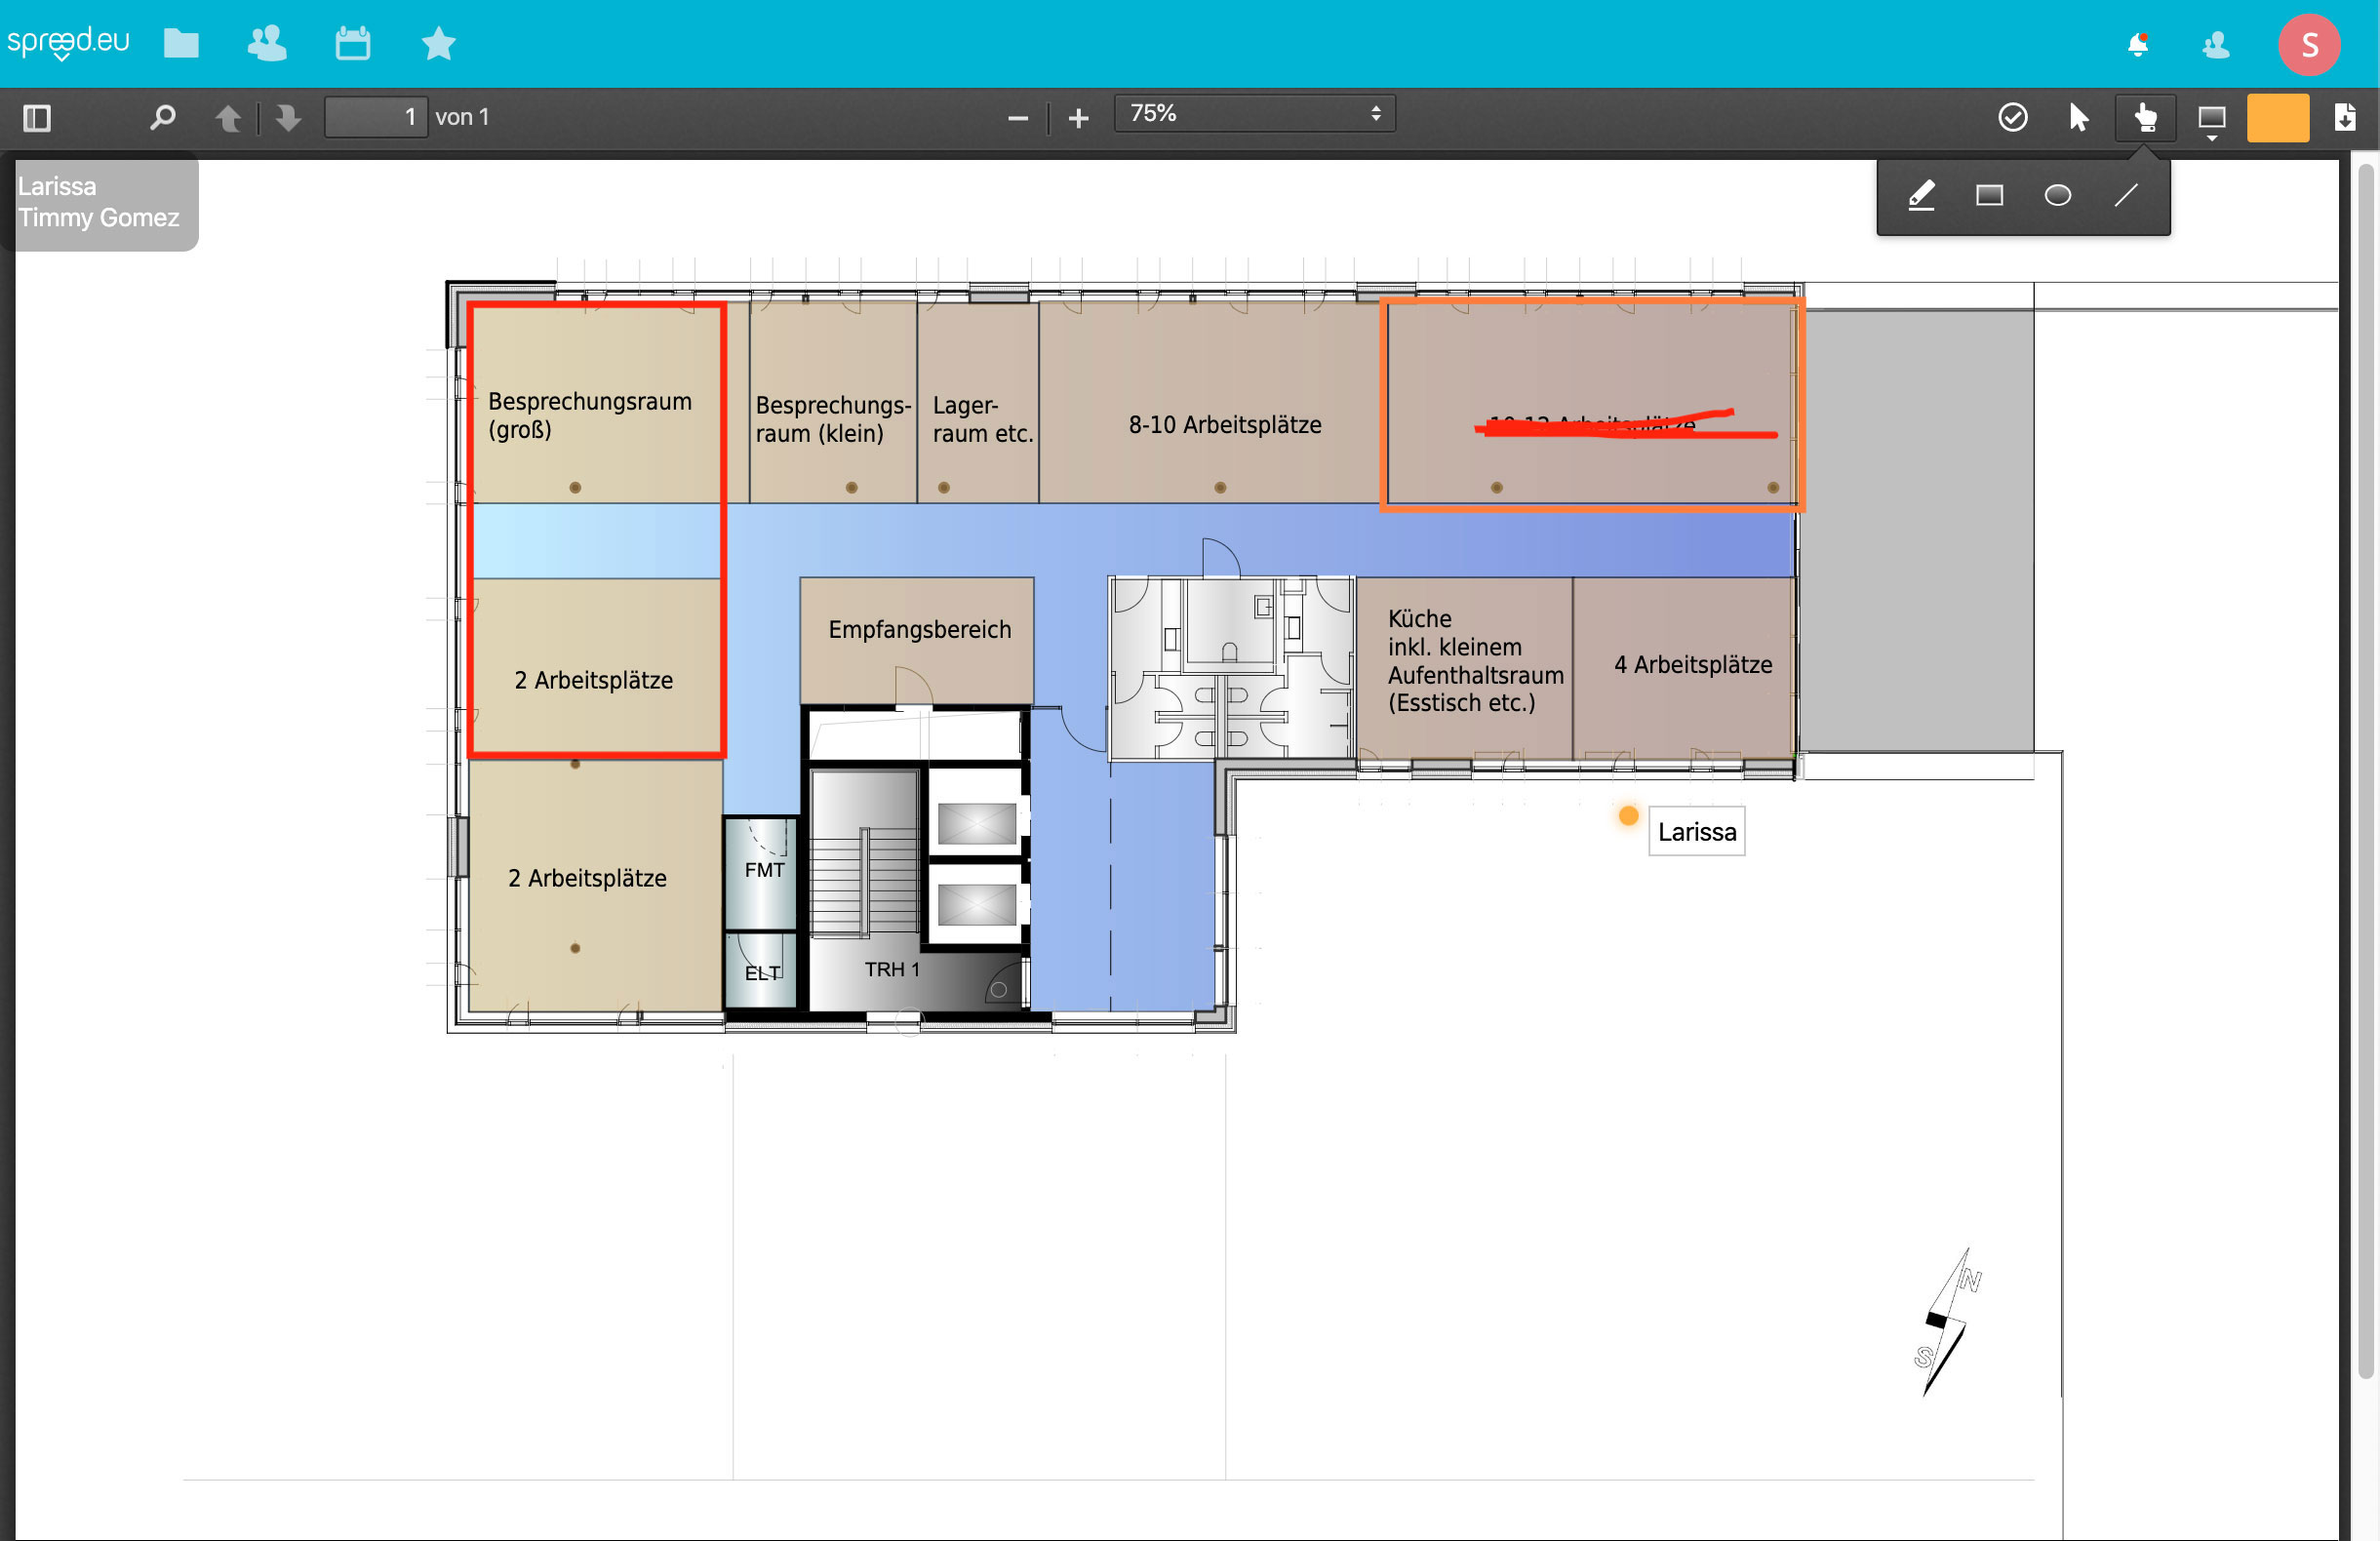
Figure: Whiteboard tools in use.
Screen Sharing
Sharing your screen is a quick and easy way to present your PowerPoint or LibreOffice files with animations, to hold software training or just to share your screen in real-time. You don’t need to download or install any software. To start sharing your screen, click on the Screen sharing icon in the menu.
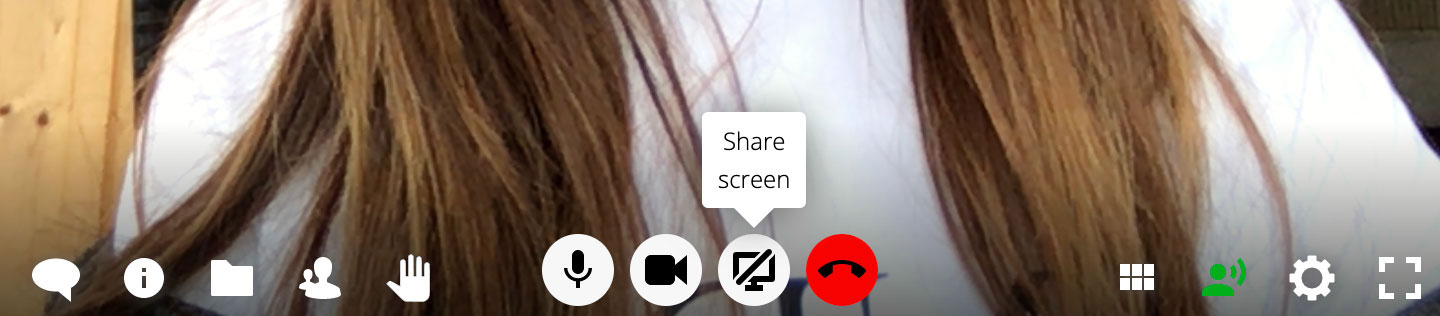
You can either share your whole desktop or a single window.
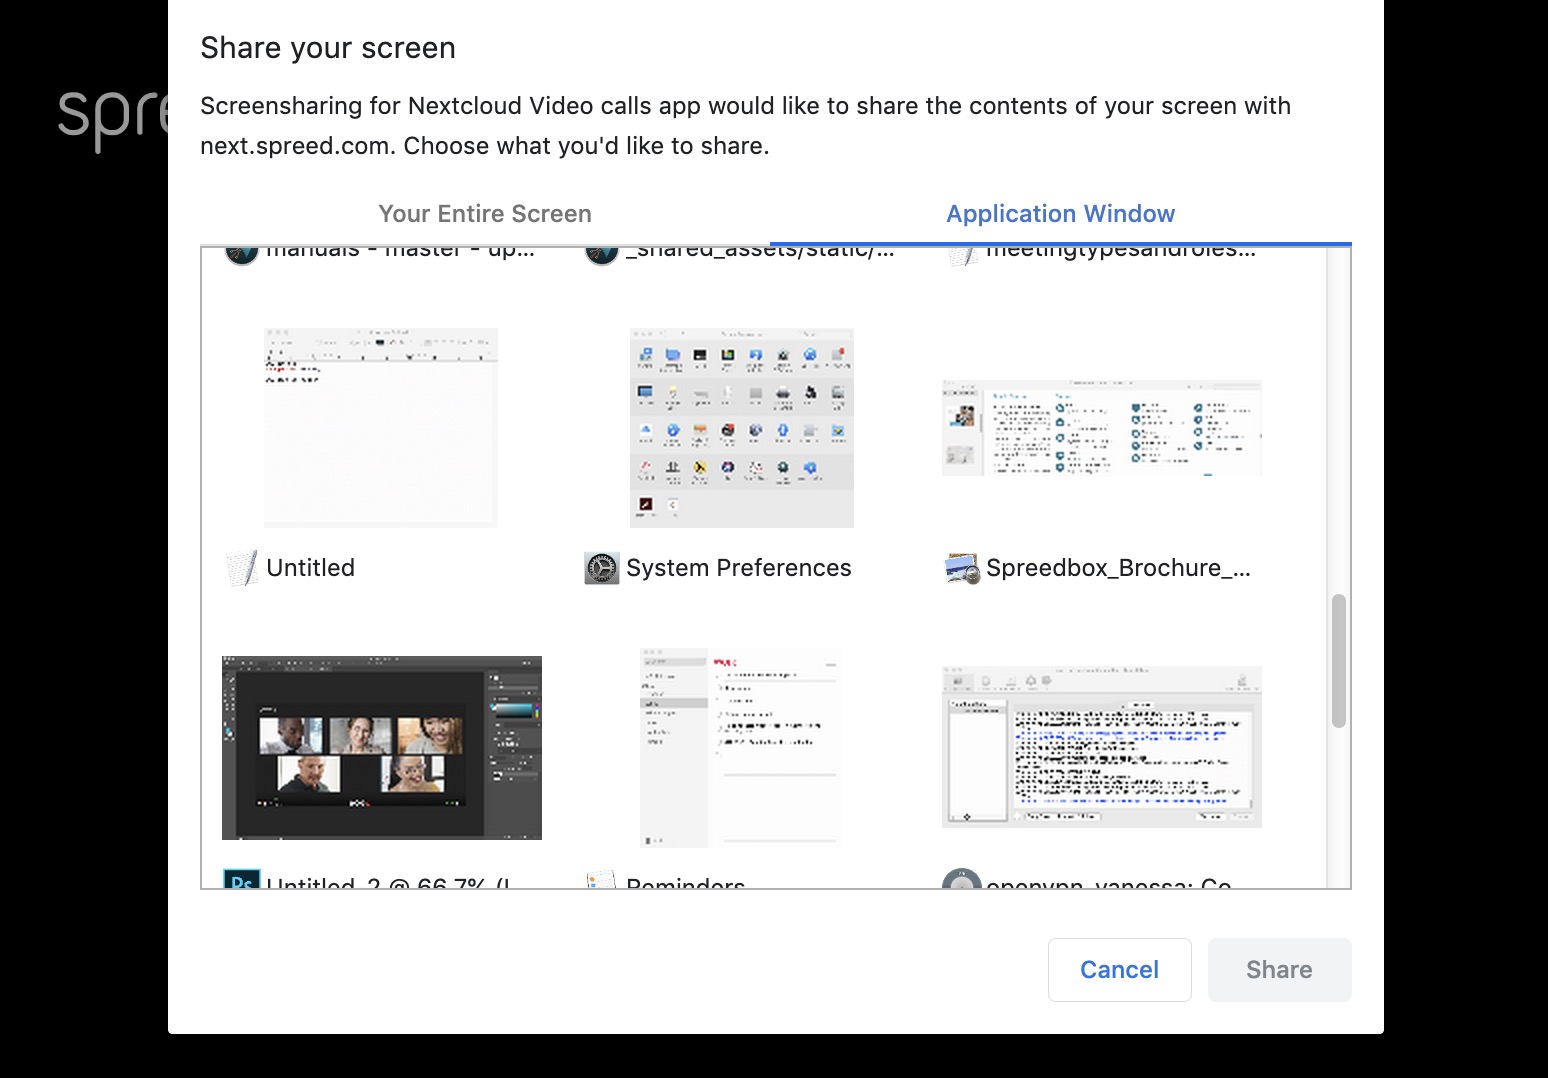
Once you’re done sharing your screen, click on Stop sharing.
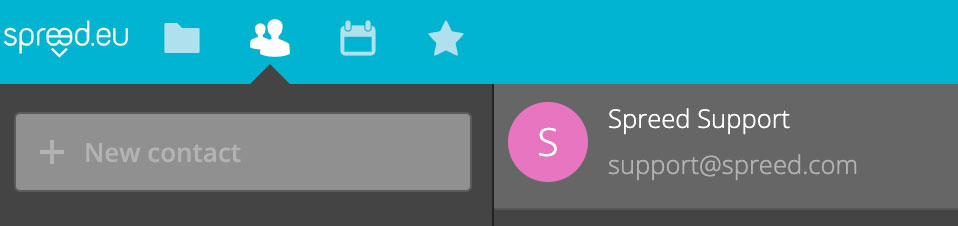
Address Book
Spreed offers an integrated address book so you can manage your contacts easily. Click on the Contacts icon in the main menu to access it.
You can either create a new contact by adding the necessary information or you can import contacts from other address books (vCard files).
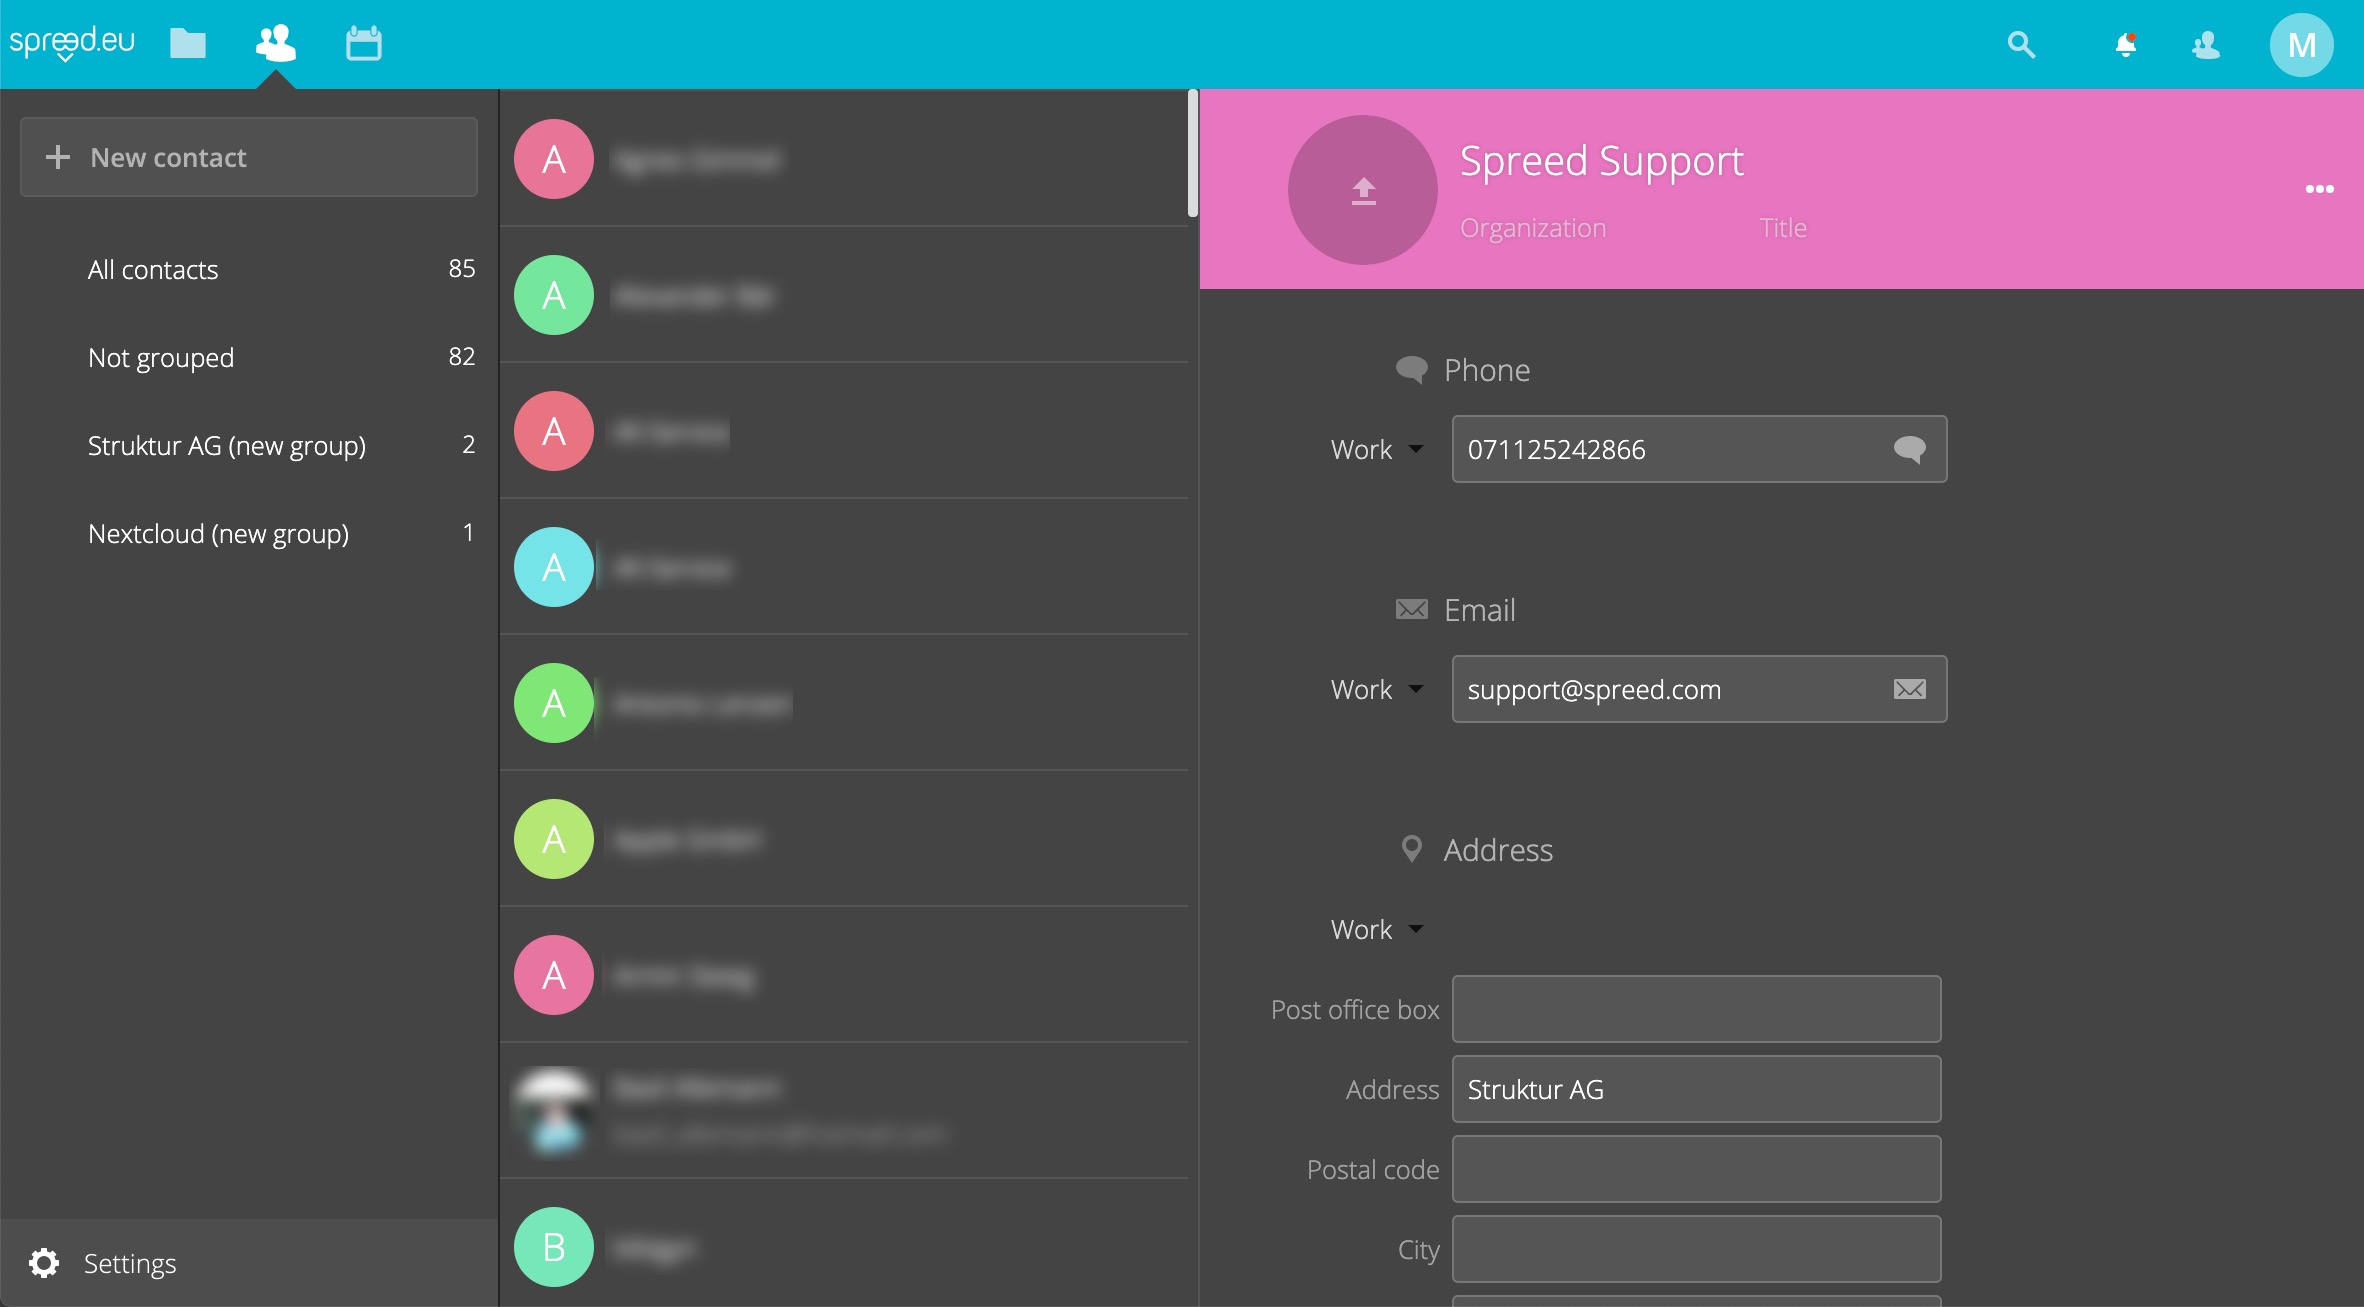
You can find more information about the Contacts app in the Nextcloud User Manual.
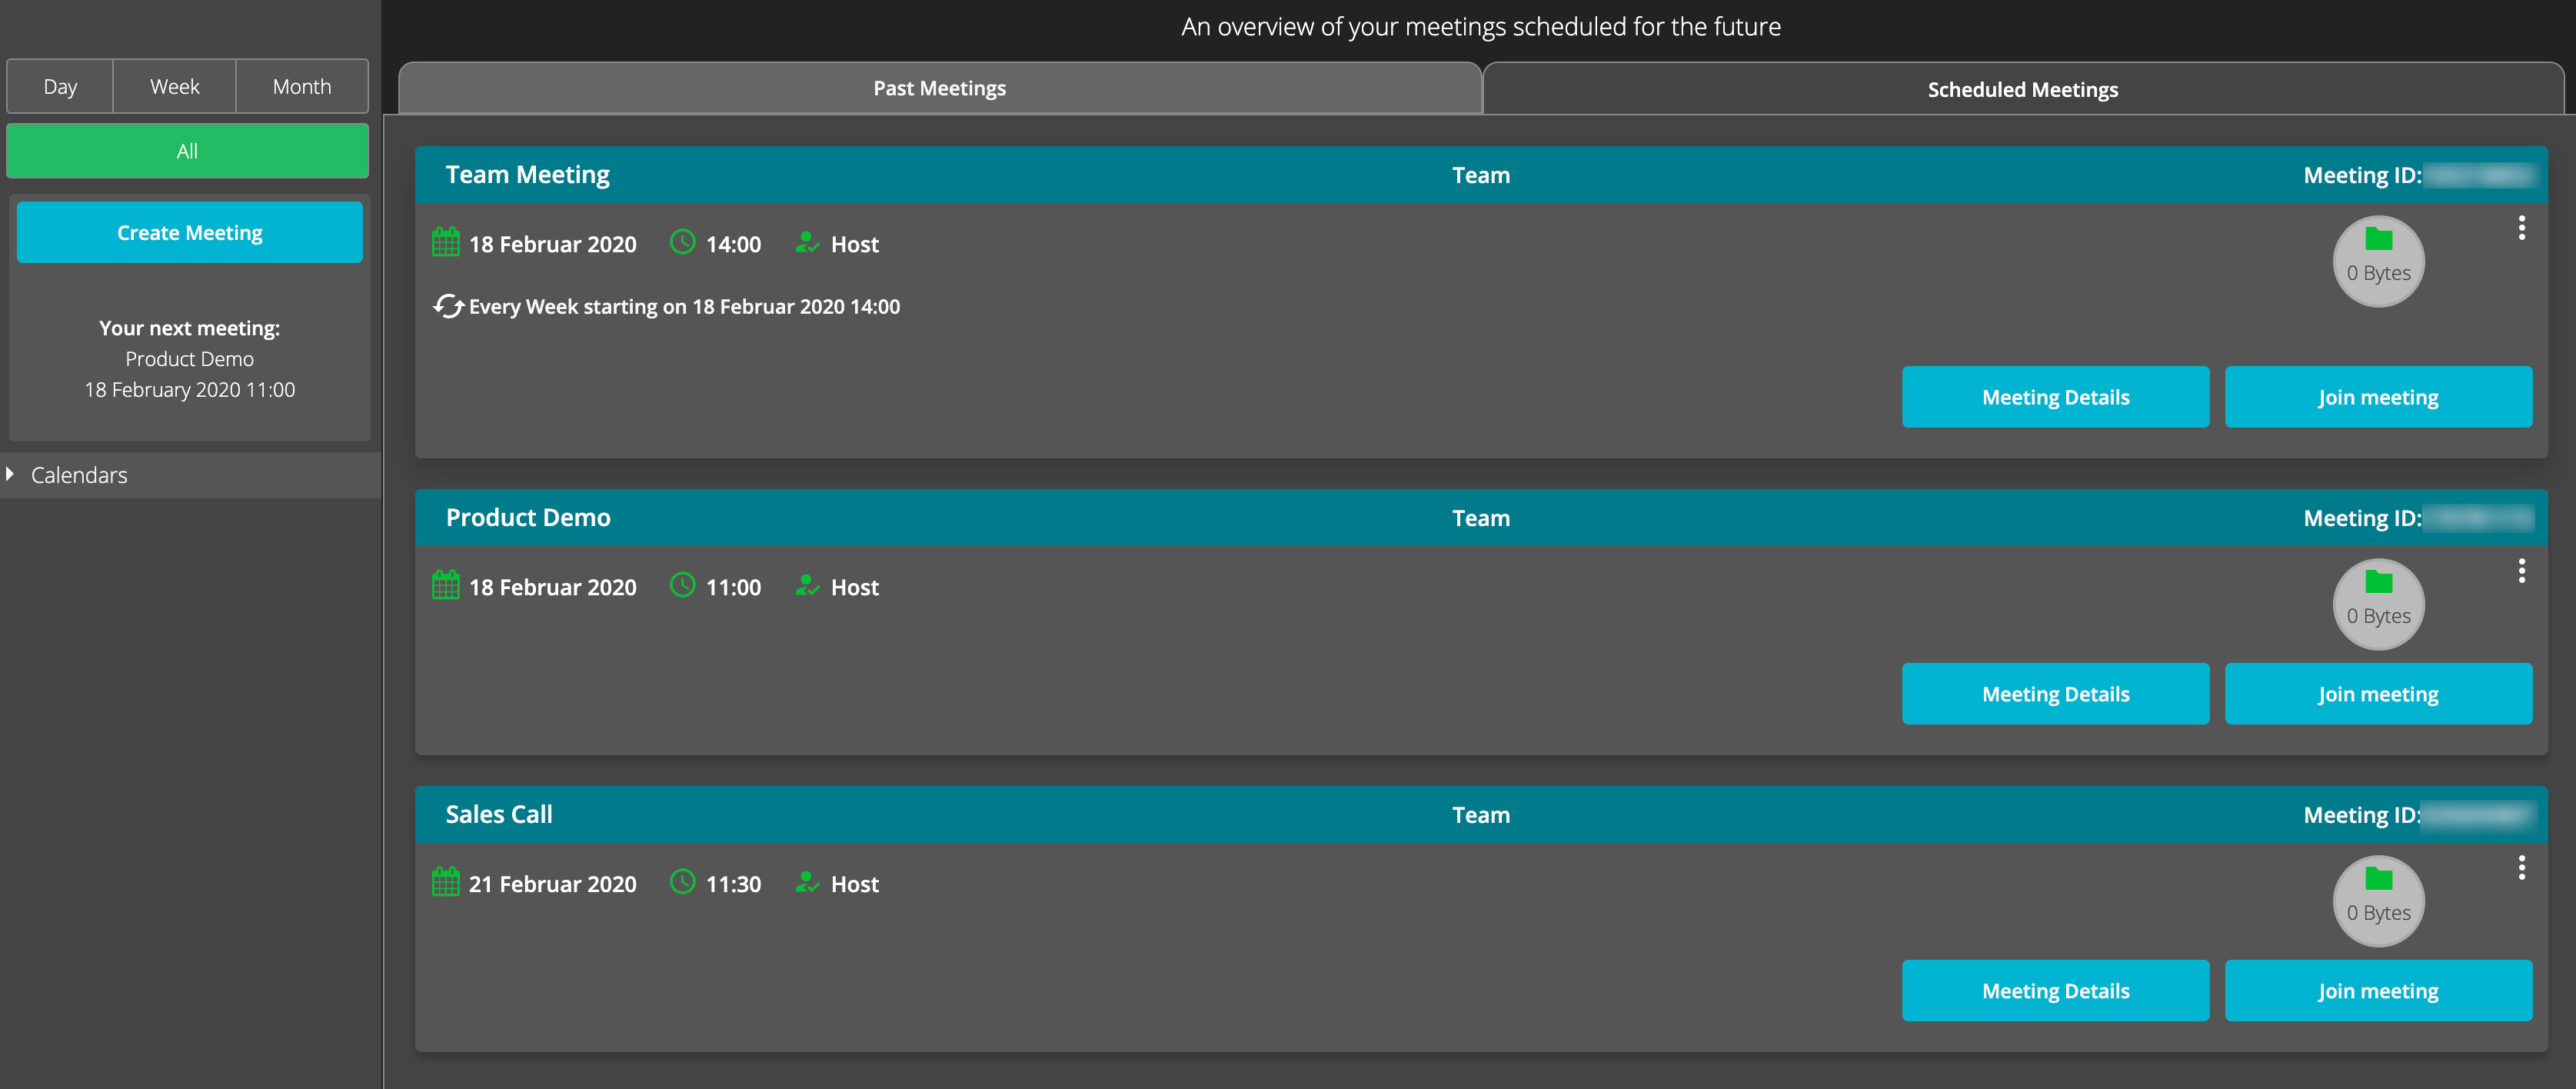
Calendar
Spreed features an integrated calendar. It is used to create meetings but also shows an overview of all your past and upcoming meetings. Click on the Calendar icon in the top menu to access it.
Create a Meeting
Learn how to create a meeting in our chapter Create a Meeting.
Meeting Overview
If you switch to the calendar and then click on the button All on the left side, you’ll see an overview of your past and upcoming meetings. If you click on the Files icon, you can upload files for the meeting.
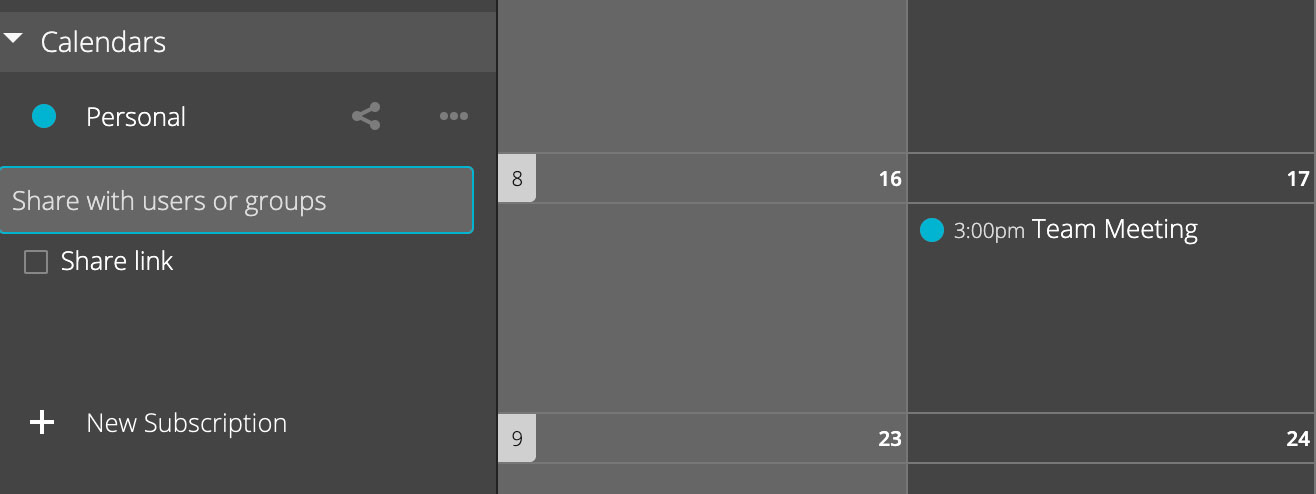
Share your Calendar
You can also share your calendar either with other users or groups or even as a link.
Click on Calendars on the left side. More options are available now. Enter the name or group in the input field or check the box Share link. Select if you’d like to share it via email or link and send it to others.